
Table of Contents
Reconnect with your core, strengthen your pelvic floor, and improve your ability to coordinate your breathing with movement through this 24-minute workout of pelvic floor and core exercises. This session combines hamstring strengthening, inner thigh activation, thoracic rotation, glute strengthening, and pelvic control to help you build a stronger foundation for everyday movement and an active lifestyle.
The workout is designed to help you reconnect with your body, develop awareness of how your rib cage and pelvis work together, and practice maintaining control as your arms and legs move.
Whether you are returning to exercise after pregnancy, working on pelvic floor coordination, or simply looking for a thoughtful way to strengthen your core, this workout offers several options to meet your current abilities.
Subscribe to our YouTube Channel for more weekly workouts and educational videos! We publish one new workout video and 2-3 educational videos a week on our channel.
Disclaimer: This blog is educational and is not a diagnosis or individualized treatment plan. If you have pelvic pain, pressure, urinary or bowel symptoms, or concerns during pregnancy or postpartum, work with an appropriate healthcare professional or pelvic floor physical therapist.
What Is a Pelvic Floor and Core Reconnection Workout?
A pelvic floor and core reconnection workout focuses on rebuilding the relationship between your breathing, abdominal muscles, pelvic floor, and the muscles that support your pelvis.
Rather than jumping straight into high-intensity strengthening, this type of workout emphasizes controlled movement and learning how to coordinate your body as you move through different positions.
The goal is not simply to contract your pelvic floor as hard as possible. Instead, you are practicing how to:
Coordinate your breathing with movement.
Maintain a connection between your rib cage and pelvis.
Activate your hamstrings, glutes, and inner thighs.
Improve pelvic control during asymmetrical movements.
Develop strength while allowing your pelvic floor to respond naturally to breathing and changes in pressure.
This workout is the fourth session in a six-part pelvic floor reconnection series. It progresses from supported movements on your back, to side-lying strengthening, and finally to all-fours exercises that challenge pelvic control.
Join Our Pelvic Floor Foundations Course
What You’ll Need for This Workout
Before beginning this 24-minute pelvic floor and core reconnection workout, gather the following equipment:
Elevated surface: A workout bench, sturdy couch, or chair.
Bolster or pillow: To support and slightly elevate your hips during the opening exercises.
Yoga block: Used under the knee and behind the leg for support and strengthening variations.
Long resistance band: A stretchy band, such as a TheraBand, that can be placed around your rib cage for breathing and core feedback.
Small Pilates ball: Used during the side-lying reach and rotation exercises.
Optional: A softer surface to place on top of the yoga block if it feels uncomfortable beneath your knee.
Part 1: Supine Breathing and Hamstring Strengthening
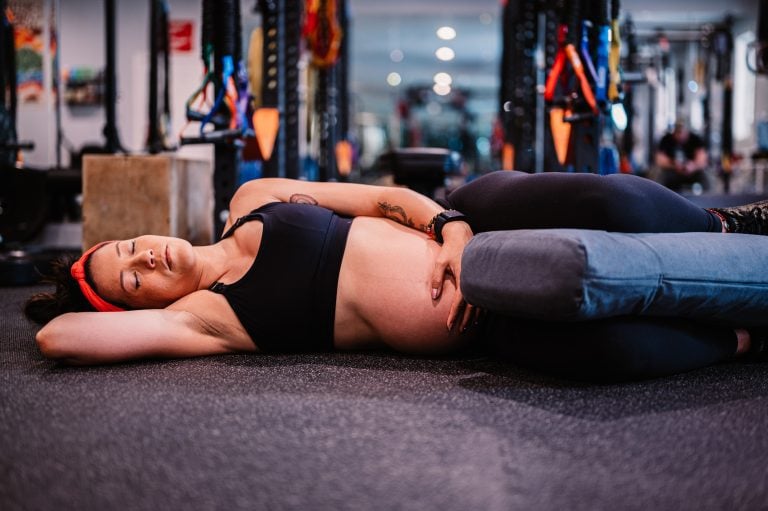
The first portion of the workout takes place on your back. This position gives you a supported starting point for practicing breathing, pelvic positioning, and hamstring activation.
You will begin with gentle hip lifts, progress to alternating leg positions, and then add overhead arm reaches. These movements encourage you to maintain control of your rib cage and pelvis while your limbs move.
1. Supine Breathing With a Supported Hip Lift
Focus: Breathing coordination, pelvic positioning, and hamstring activation.
Setup
Lie on your back with your knees bent.
Place your hips on a bolster or pillow for support.
If desired, place a yoga block between your thighs.
Position your feet so you can actively press through your heels.
Allow your arms to rest comfortably by your sides.

How to perform the movement
Begin by gently tucking your pelvis underneath you. Think about bringing your hips slightly toward your ribs rather than arching your lower back.
Take a breath into your back body. As you exhale, gently draw your belly toward your spine while pressing through your heels.
Continue pressing through your heels to lift your hips slightly off the pillow. You only need enough height to slide your hands underneath your hips. This is a small, controlled lift rather than a large bridge.
Inhale as you lower your hips back down.
Repeat slowly, focusing on the coordination between your breath and the movement.

What to focus on
The goal is to feel your hamstrings and glutes working while your rib cage and pelvis remain connected.
You may notice that the pelvic position changes how the exercise feels. Try to avoid lifting by arching your lower back. Instead, think about gently tucking your pelvis and pressing through your heels.
Coaching cue: Inhale into your back. Exhale, tuck your pelvis, and press through your heels to lift.
2. Supine Hamstring Reach With Opposite Arm
Focus: Hamstring activation, rib cage control, and coordination between the upper and lower body.
This exercise builds on the supported supine position by introducing a straight-leg position and an overhead arm reach.
Setup
Remain on your back with your hips supported on the pillow.
Keep your right leg bent, with your right foot pressing into the bench.
Straighten your left leg and place the back of your left leg against the bench or elevated surface.
Reach your right arm overhead.
Keep your rib cage from lifting or flaring as your arm moves.
How to perform the movement
Begin by actively pressing through your right heel. At the same time, press the back of your left leg into the elevated surface.
Reach your right arm overhead as you exhale.
You can place your opposite hand on your rib cage to provide feedback. Think about keeping the ribs down rather than allowing your chest to lift toward the ceiling.
Inhale as you bring the arm back up.
Repeat the movement slowly, maintaining pressure through both legs.

Why this movement matters
The two legs are working from different positions:
The right leg is bent and pressing through the heel.
The left leg is straight and pressing into the bench.
This creates different hamstring activation patterns while you practice maintaining control of your torso.
The overhead arm movement adds another challenge: you must coordinate your upper body without losing your pelvic position.
3. Elevated Hip Lift With Overhead Reach
Focus: Hamstring strengthening, pelvic stability, and pressure management during movement.
This is a progression of the previous exercise. You will maintain the same leg setup while adding a small hip lift.
How to perform the movement
Keep your right leg bent and your left leg straight against the elevated surface.
Press actively through the right heel and the back of the left leg.
Inhale into your back body.
Exhale as you gently tuck your pelvis and lift your hips.
At the same time, reach your right arm overhead.
Inhale as you lower your hips and bring the arm back.
The hip lift can be very small. You might lift only half an inch, or you may have enough range to lift higher. Choose the amount of movement that allows you to maintain control.

Key coaching points
Keep your rib cage down. As you reach overhead, avoid thrusting your ribs upward.
Press through the back of your legs. Your hamstrings should help drive the lift rather than relying on an exaggerated lower-back arch.
Move slowly. The quality of each repetition matters more than the number of repetitions you complete.
Choose your range. There is no need to force a higher lift if a smaller movement feels more controlled.
Switch sides
After completing the movement on one side, switch your legs:
Straighten your right leg against the bench.
Keep your left leg bent.
Reach your left arm overhead.
Press through the left heel and the back of the right leg.
Repeat the supported hamstring reach and the elevated hip lift on the second side.
Pay attention to whether one side feels different from the other. One side may feel stronger, less coordinated, or more challenging to stabilize.

Why the supported hip lift is useful
The slightly elevated position gives you a supported way to practice hamstring strengthening and pelvic control. It also allows you to explore movement while maintaining a connection between your rib cage and pelvis.
You do not need to force your pelvic floor to contract maximally. Instead, focus on breathing and allowing your body to coordinate the movement.
 On-demand video · 30 workouts
Core, Pelvic Floor & Pelvic Stability
Thirty follow-along workouts across beginner, novice, and advanced levels, ten per level — core and pelvic floor strength for pain relief in pregnancy or postpartum.
Learn more
On-demand video · 30 workouts
Core, Pelvic Floor & Pelvic Stability
Thirty follow-along workouts across beginner, novice, and advanced levels, ten per level — core and pelvic floor strength for pain relief in pregnancy or postpartum.
Learn more
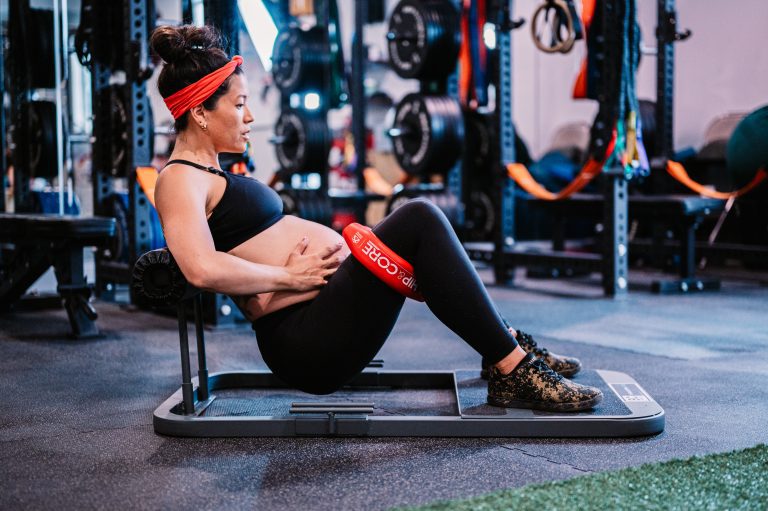 Bundle · lifetime access
MamasteFit Bundles
Combine courses and programs for lifetime access and save up to 15% — grouped for birth preparation, the third trimester, or the whole pre and postnatal journey.
Learn more
Bundle · lifetime access
MamasteFit Bundles
Combine courses and programs for lifetime access and save up to 15% — grouped for birth preparation, the third trimester, or the whole pre and postnatal journey.
Learn more
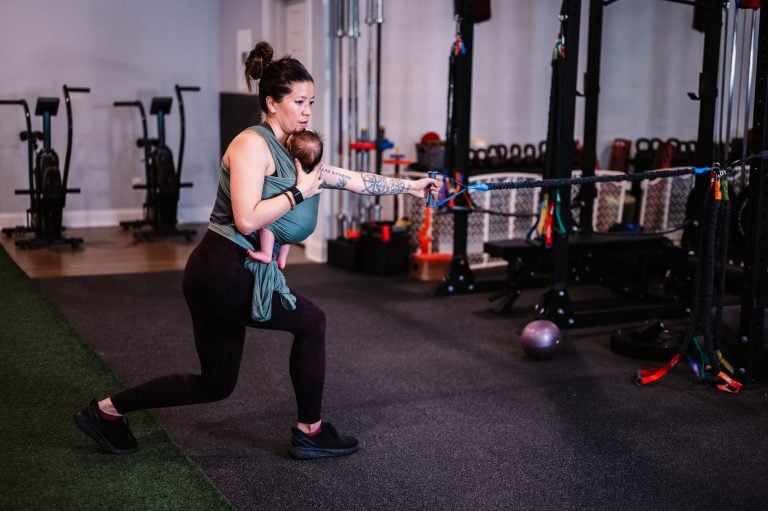 App program · 16 weeks
Postpartum Return to Fitness
Sixteen weeks of rebuilding, four strength sessions a week, with a vaginal or cesarean recovery track and follow-along videos for the first six weeks.
Learn more
App program · 16 weeks
Postpartum Return to Fitness
Sixteen weeks of rebuilding, four strength sessions a week, with a vaginal or cesarean recovery track and follow-along videos for the first six weeks.
Learn more
Part 2: Side-Lying Inner Thigh Strengthening and Thoracic Rotation
The second portion of the workout moves into a side-lying 90-90 position. This setup allows you to work on inner thigh strength, side-body breathing, and upper-body rotation.
The exercises begin with supported breathing and progress to hip lifts and reaching movements.
You will also have the option to keep your hips down or lift them to increase the pelvic control challenge.
4. Side-Lying 90-90 Breathing and Hip Positioning
Focus: Inner thigh activation, side-body breathing, and pelvic positioning.
Setup
Come onto your side.
Position your legs in a 90-90 setup.
For the first side, place your left leg in front and your right leg behind.
Place your right knee on the yoga block.
Keep your Pilates ball nearby.
Position your torso comfortably, with your rib cage stacked over your pelvis.
The yoga block supports the elevated knee and allows you to shift your weight into the working hip.

How to perform the movement
Begin by actively pressing through your right hip. Think about extending the hip slightly as you press down through your left leg.
You may reach your hands forward to create a slight rounding through your back.
Take a big inhale into your side body and back body.
As you exhale, gently draw your belly toward your spine and allow your rib cage to settle down.
Continue pressing through the right knee while maintaining a comfortable position through your pelvis.

Breathing focus
This is an excellent opportunity to focus on the movement of your rib cage.
As you inhale, feel your ribs expand into your sides and back.
As you exhale, feel your rib cage drop down and your abdominal muscles gently activate.
The goal is not to force your pelvic floor to move with every breath. Instead, focus on the rib cage and diaphragm. Your pelvic floor responds as part of this pressure-management system.
If focusing directly on the pelvic floor makes you tense or uncomfortable, shift your attention to your breathing.
5. Side-Lying Inner Thigh Hip Lift
Focus: Inner thigh strengthening, pelvic stability, and controlled breathing.
Once you are comfortable in the side-lying position, you can add a hip lift.
How to perform the movement
Place your hand on your hip.
Press actively through your right knee.
Lift your hip away from the floor.
Allow your left leg to remain on the floor for additional support.
Continue breathing as you maintain the position.
Slowly lower your hip back down.
The inner thigh muscles help support the movement as you press through the knee and lift your hip.

Choose your variation
You can adapt this exercise based on how you are feeling.
Option 1: Hips down
Keep your hips on the floor and focus on pressing through the elevated knee.
Option 2: Lift and lower
Exhale to lift your hip, then inhale as you lower back down.
Option 3: Hold or pulse
Maintain the lifted position or move through small pulses if that feels more accessible.
The movement does not need to be large. Focus on the quality of the hip lift and your ability to breathe while maintaining control.
6. Side-Lying Reach With Pilates Ball
Focus: Thoracic rotation, inner thigh activation, and pelvic control.
This movement introduces upper-body rotation while maintaining the side-lying setup.
How to perform the movement
Remain in your side-lying 90-90 position.
Hold the Pilates ball in front of you.
Press actively through your working knee.
Exhale as you reach the ball forward.
Inhale as you bring the ball back toward your body.
Think about moving through your upper back and rib cage rather than forcing the movement from your lower back.

Progression: Add the hip lift
If you feel ready, you can combine the reach with the hip lift.
You have several options:
Keep your hips down while reaching.
Lift your hips as you reach, then lower as you return.
Maintain the hip lift throughout the entire movement.
Lifting the hips increases the amount of pelvic control required. Your upper body is rotating while your pelvis must remain stable enough to support the position.
Choose the version that feels accessible and controlled.

Why thoracic rotation is included
Your rib cage and upper back play an important role in how your torso moves. Practicing rotation while your hips are supported gives you an opportunity to coordinate upper-body movement with pelvic stability.
This is particularly useful when rebuilding confidence in movement after pregnancy or when you are learning to control your torso during asymmetrical exercises.
7. Repeat the Side-Lying Series on the Other Side
Switch sides and repeat the same sequence:
Set up with your right leg in front and left leg behind.
Place your left knee on the yoga block.
Press through the left knee.
Practice side-body and back-body breathing.
Add the inner thigh hip lift if desired.
Perform the Pilates ball reach.
Choose whether to keep your hips down or add elevation.
Important adjustment
If the yoga block feels uncomfortable beneath your knee, place a softer surface on top of it.
You can also lower your hips to the floor whenever you need a break. The goal is to continue practicing the movement while maintaining comfortable breathing and good control.
Part 3: All-Fours Hip Shifts and Pelvic Control
The final portion of the workout moves into an all-fours position. Here, you will work on hip-shifted pelvic tilts, knee lifts, hamstring activation, and rib cage-to-pelvis control.
These movements introduce more asymmetry, which means one side of your body will be working differently from the other.
8. Hip-Shifted All-Fours Pelvic Tilts
Focus: Posterior pelvic floor mobility, hip control, and breathing coordination.
Setup
Come into an all-fours position.
Place the long resistance band around your rib cage at approximately bra-strap level.
Place your left knee on the yoga block.
Shift most of your weight over to the left side.
Keep your right knee on the floor for support, or lift it slightly if needed.
Maintain a comfortable, supported position.

How to perform the movement
Begin with most of your weight over the left knee.
Inhale as you look forward and allow your back to lengthen.
Exhale as you round your back.
Repeat the movement slowly, moving between the lengthened and rounded positions.
Continue keeping most of your weight in the left leg.


What you should feel
You may notice a stretching sensation in the left glute as you shift your weight.
If you are not feeling much, try pressing more actively through the inside of your right knee. This can help you move farther into the hip-shifted position.
The goal is to explore the movement without forcing it.
Why hip shifts are included
Hip-shifted movements place the pelvis in an asymmetrical position. This can help you explore mobility and control through different areas of the pelvic floor.
The workout specifically uses these movements to address the posterior portion of the pelvic floor, or the back part of the pelvic floor on the elevated hip side.
The back of the pelvic floor may hold tension for some people. The workout notes that this can be associated with concerns such as constipation, tailbone pain, or SI joint pain.
These symptoms can have multiple causes, so this exercise should not be considered a diagnosis or a guaranteed treatment. If you have persistent pain or bowel symptoms, consult a qualified healthcare professional.
9. Hip-Shifted Knee Lifts
Focus: Glute strengthening, pelvic control, and maintaining alignment.
After practicing the pelvic tilts, you will add a knee lift.
How to perform the movement
Keep your weight shifted over the left knee.
Maintain the rounded-back position.
Lift your right knee away from the floor.
Drive the right hip straight up.
Lower the right knee back toward the floor.
Repeat slowly while keeping your legs parallel.
Imagine that you have a foam roller between your thighs. Try to maintain the same alignment as you lift and lower the knee.

Support and progression options
Keep the right foot on the floor for more support.
Lift the foot off the floor for a greater challenge.
Keep the back rounded rather than arching as you lower.
Move slowly and focus on keeping the pelvis controlled.
The movement should feel like the hip is driving straight upward rather than rotating outward.

Switch sides
Repeat the same sequence on the other side:
Place your right knee on the block.
Shift your weight toward the right.
Practice the pelvic tilts.
Add the left knee lifts.
Keep the legs parallel.
Maintain a controlled rib cage and pelvic position.
Asymmetrical positions may feel different from one side to the other. You may notice a different sensation through the front of the hip or the back of the pelvic floor.
Do not force a position that feels pinchy, painful, or restricted.
 App program · 16 weeks
After C-Section Recovery Workout
Sixteen weeks of cesarean-specific rebuilding with scar mobilization included — developed with physical therapist and two-time c-section mom Casey.
Learn more
App program · 16 weeks
After C-Section Recovery Workout
Sixteen weeks of cesarean-specific rebuilding with scar mobilization included — developed with physical therapist and two-time c-section mom Casey.
Learn more
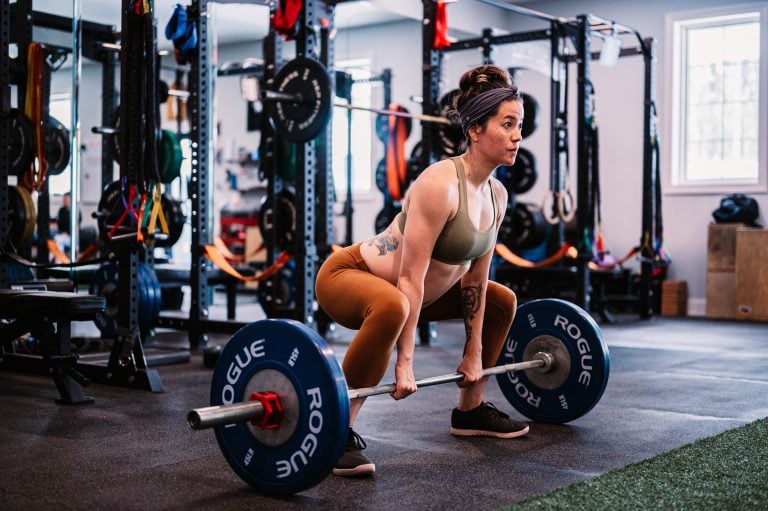 App program · 40 weeks
Prenatal Strength Training
A gym-based program that syncs to your current week of pregnancy — four strength sessions plus one pelvic stability workout a week, with demo videos for every exercise.
Learn more
App program · 40 weeks
Prenatal Strength Training
A gym-based program that syncs to your current week of pregnancy — four strength sessions plus one pelvic stability workout a week, with demo videos for every exercise.
Learn more
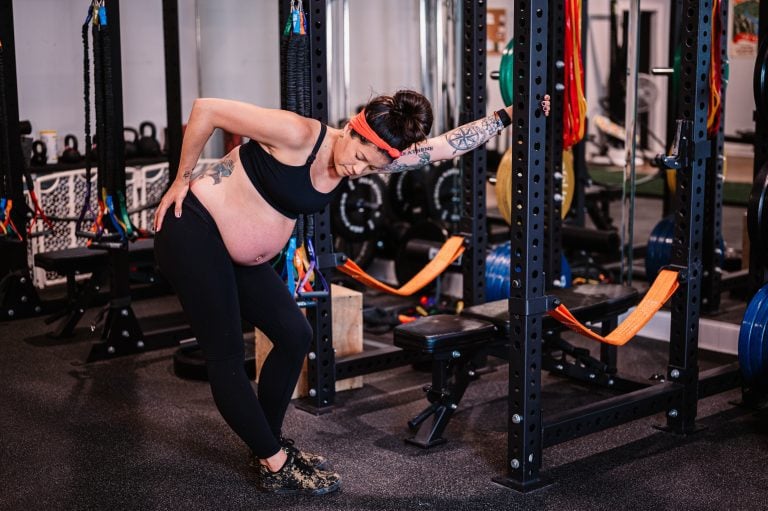 On-demand video · 128 workouts
Prenatal Workout On-Demand
Follow-along workouts from week 5 to week 41, four or five a week with guided warm-ups and cool-downs — over 128 sessions coached in real time alongside the video.
Learn more
On-demand video · 128 workouts
Prenatal Workout On-Demand
Follow-along workouts from week 5 to week 41, four or five a week with guided warm-ups and cool-downs — over 128 sessions coached in real time alongside the video.
Learn more
Part 4: All-Fours Hamstring and Core Connection
The final exercises combine leg strengthening with upper-body reaching. You will use the yoga block behind the knee and the resistance band around your rib cage to practice maintaining control as your limbs move.
10. All-Fours Hamstring Lift With Reach
Focus: Hamstring strengthening, rib cage and pelvis connection, and pressure management.
Setup
Remain in your all-fours position.
Place the yoga block behind your knee.
Keep the resistance band around your rib cage.
Begin with one leg bent.
Maintain a stable torso.

How to perform the movement
Place the block behind your knee and gently squeeze it as you lift your foot toward the ceiling.
At the same time, reach the opposite arm forward.
Exhale as you reach and lift the leg.
Inhale as you lower the arm and leg back down.
Keep the band tension steady around your rib cage.

Key coaching points
Keep the rib cage and pelvis connected. As you lift your foot, avoid arching your lower back.
Use a strong exhalation. This can help you maintain the abdominal connection needed to prevent your back from extending excessively.
Move slowly. The goal is to maintain your torso position while the leg and arm move.
Squeeze the block gently. This provides feedback for keeping the leg aligned and maintaining hamstring activation.
11. All-Fours Bird Dog Variation
If the block variation feels too challenging, you can simplify the exercise.
Option 1: Bird dog
Keep the leg straight and reach the opposite arm forward.
Focus on maintaining your rib cage and pelvis connection as you extend your limbs.

Option 2: Foot drag
Instead of lifting the leg, drag your foot backward along the floor.
This reduces the balance demand while allowing you to practice the same core connection.
Option 3: Leg lift only
If coordinating the arm and leg is too much, focus on the leg lift while keeping your upper body stable.
You can also imagine pressing your foot into a wall behind you as you lift.
Choose the variation that allows you to maintain control without arching your back.
12. Repeat on the Other Side
Switch the yoga block to the opposite knee and repeat the hamstring lift with reach.
As you exhale, squeeze the block between your thighs and reach forward.
Inhale as you slowly lower.
If the block slips out, take your time to reset your position. You can also remove the block and continue with the leg lift while focusing on reaching your foot toward the ceiling.
The goal is to maintain the relationship between your rib cage and pelvis while moving your limbs.
Understanding the Core and Pelvic Floor Connection
One of the central themes of this workout is learning how your rib cage, diaphragm, abdominal muscles, and pelvic floor work together.
Your breathing affects pressure management
When you inhale, your diaphragm moves downward and your rib cage expands.
When you exhale, your rib cage moves back down and your abdominal muscles can gently activate.
Your pelvic floor responds as part of this pressure-management system. Rather than thinking about squeezing your pelvic floor during every movement, practice coordinating your breathing and allowing your body to respond.
This is especially important when you are rebuilding your connection to your core.
What does rib cage and pelvis connection mean?
Throughout the workout, you will hear cues about keeping your rib cage and pelvis connected.
This means avoiding excessive arching through your lower back or allowing your rib cage to thrust upward as you reach or lift.
Instead, think about maintaining a comfortable relationship between your rib cage and pelvis.
You should still be able to breathe. The goal is not to brace so hard that your breathing becomes restricted.
Why the pelvic floor does not need to contract maximally
The pelvic floor is not simply a muscle that needs to be constantly tightened.
It needs to respond to changes in pressure, movement, and activity.
For some people, focusing too intensely on squeezing the pelvic floor can lead to excessive tension or discomfort. This workout encourages you to focus primarily on your rib cage movement and breathing.
Your pelvic floor can respond to the movement of your diaphragm and changes in pressure without you needing to force the contraction.
How to Make This Workout Work for Your Body
This workout is designed with several ways to modify the movements. You can choose the variation that feels most accessible to you today.
If you are newer to pelvic floor strengthening
Start with the supported movements on your back.
Focus on:
Breathing into your back body.
Gentle pelvic positioning.
Pressing through your heels.
Small hip lifts.
Maintaining control without arching your back.
You do not need to complete every progression immediately.
If one side feels different from the other
Asymmetrical movements may feel different from side to side.
You might notice that one hip feels more restricted, one side feels stronger, or one position is more challenging to control.
This is not necessarily a problem. Use the differences as feedback.
You can reduce the range of motion, lower your hips, or use additional support.
If you struggle with holding positions
You do not have to hold every exercise continuously.
The workout offers pulsing and moving variations for several exercises. Sometimes moving through repetitions feels more manageable than maintaining a static hold.
For example, during the side-lying hip lift, you can:
Lower and lift the hips.
Pulse through a small range.
Hold the position briefly.
Keep the hips down and focus on pressing through the knee.
Choose what feels best for you.
If you feel discomfort
Stop or modify any movement that causes pain, pressure, or discomfort.
You can lower your hips, reduce the range of motion, or choose a supported variation.
If you are postpartum, pregnant, or managing pelvic floor symptoms, work with your healthcare provider or a qualified pelvic health professional to determine which exercises are appropriate for you.
Why Pelvic Floor and Core Exercises Matter for Everyday Movement
Pelvic floor and core strengthening is not just about exercise performance. It is also about building the capacity to manage the demands of everyday life.
Your pelvic floor and core help support movements such as:
Walking.
Lifting your children.
Carrying groceries.
Getting up from the floor.
Squatting.
Bending and reaching.
Returning to running or other athletic activities.
This workout provides a way to practice maintaining torso control while your arms and legs move.
The combination of hamstring strengthening, inner thigh activation, glute work, and pelvic control helps you build a more complete foundation for movement.
The importance of progressive strengthening
This workout is part of a larger progression that begins with reconnection and stabilization.
The broader program then moves into pelvic mobility, pelvic floor balance, and pelvic floor strengthening.
That progression is important because strength is not the only component of pelvic floor function.
You also need to develop mobility, coordination, and the ability to manage pressure during movement.
Frequently Asked Questions
Is this workout suitable for postpartum recovery?
This workout focuses on reconnection, controlled strengthening, and breathing coordination, which may be useful for someone returning to exercise after pregnancy.
However, postpartum recovery is individual. The appropriate timing and exercise variations depend on factors such as delivery, healing, symptoms, and current strength.
If you are recently postpartum or have pelvic floor symptoms, consult your healthcare provider before beginning.
Do I need to squeeze my pelvic floor during every exercise?
No. The focus of this workout is breathing coordination and connection between your rib cage and pelvis.
Rather than forcing a maximal pelvic floor contraction, focus on your breathing and maintaining control through the movement.
What if I cannot lift my hips very high?
That is completely fine.
The supported hip lifts can be very small. Even a half-inch lift may be enough for you to practice the movement.
Choose a range that feels controlled and comfortable.
What if one side feels harder than the other?
Different sides may feel different during asymmetrical exercises.
Pay attention to your range of motion, strength, and comfort. Use additional support or reduce the movement as needed.
Can I do this workout without all the equipment?
You can modify the workout with the equipment you have available.
A sturdy couch or chair can replace the bench. A pillow can replace the bolster. You can also perform the Pilates ball reach without a ball.
For safety, use stable surfaces and avoid equipment that shifts unexpectedly.
Final Thoughts
This 24-minute pelvic floor and core reconnection workout provides a structured way to practice breathing, strengthening, and pelvic control.
You will work through:
Supine breathing and hamstring strengthening.
Side-lying inner thigh strengthening and thoracic rotation.
All-fours hip shifts and pelvic control.
Hamstring strengthening with upper-body reaching.
The emphasis throughout the workout is on moving slowly, maintaining your rib cage and pelvis connection, and choosing variations that feel accessible.
You do not need to perform every movement perfectly. The goal is to build awareness and strength over time, so you can feel more confident managing the demands of daily life and the activities you enjoy.
Remember: Your pelvic floor is part of a larger system. Breathing, mobility, strength, and coordination all contribute to how your body moves and manages pressure. By practicing these skills consistently, you can build a stronger foundation for your fitness journey.
Check Out Our Previous Pelvic Floor Week Workout Videos!
On-demand video · 30 workouts
Core, Pelvic Floor & Pelvic Stability
Thirty follow-along workouts across beginner, novice, and advanced levels, ten per level — core and pelvic floor strength for pain relief in pregnancy or postpartum.
Learn more
Bundle · lifetime access
MamasteFit Bundles
Combine courses and programs for lifetime access and save up to 15% — grouped for birth preparation, the third trimester, or the whole pre and postnatal journey.
Learn more
App program · 16 weeks
Postpartum Return to Fitness
Sixteen weeks of rebuilding, four strength sessions a week, with a vaginal or cesarean recovery track and follow-along videos for the first six weeks.
Learn more