Wrist Pain During Pregnancy: 10-Minute Relief Routine
Fitness, Motherhood, Postpartum, Pregnancy
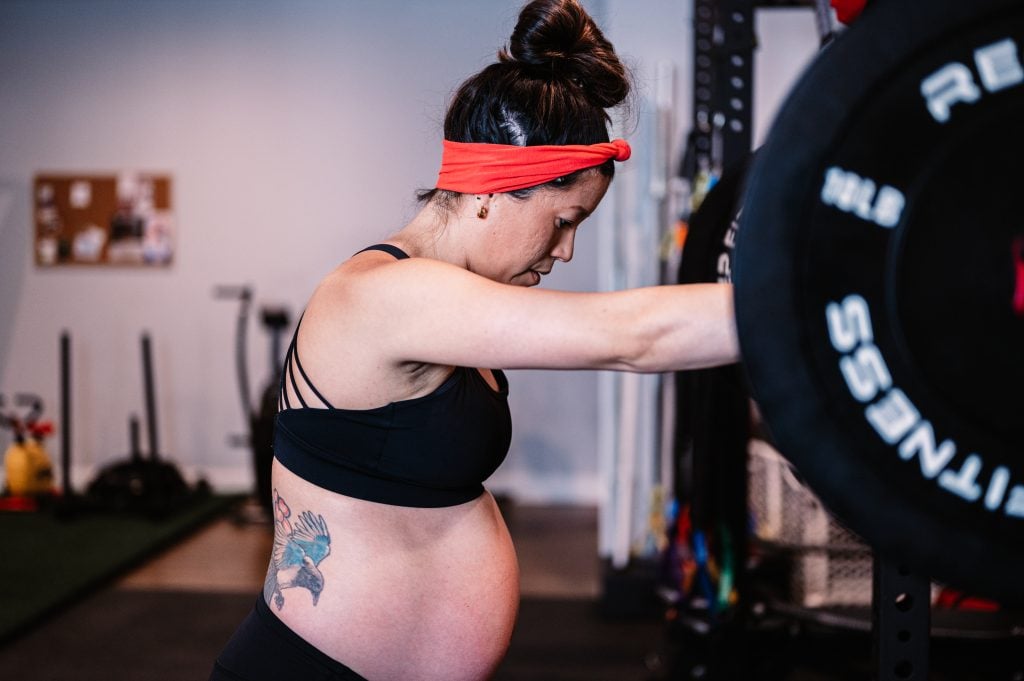
If you’ve been struggling with wrist pain during pregnancy—or while holding your baby, or from all the repetitive motions of motherhood—this quick 10-minute routine is for you. These exercises will help you mobilize and strengthen your wrists, so you can move comfortably and pain-free throughout your day.
As a perinatal fitness trainer and birth doula (and a mom of four!), wrist and thumb discomfort are things I’ve personally dealt with—especially postpartum. Over time, I’ve found some simple, effective exercises that have made a big difference in how my wrists feel. Today, I’m sharing them with you.
Subscribe to our YouTube Channelfor more weekly workouts and educational videos! We publish one new workout video and 2-3 educational videos a week on our channel.
What You’ll Need
You only need two simple tools for this routine:
A soft lacrosse or yoga tune-up ball
A light weight (like a dumbbell, soup can, or soda can)
Find a stable surface like a table, and let’s begin!
Step 1: Forearm Myofascial Release
Start by placing the ball under your forearm on an elevated surface. Use your other hand to apply gentle pressure and roll the forearm over the ball for about one minute per side.
If you find a tender or “sticky” spot, pause there and make small circles to help release tension. You can also move up and down along the muscle fibers. This technique helps loosen tight fascia and muscles that contribute to wrist and thumb discomfort—especially if you’re constantly holding your baby or performing repetitive hand movements.
Switch sides and repeat. 👉 Tip: I often feel more tension on my left side since I tend to hold my baby more with that arm. Notice which side feels tighter for you.
Kaitlin
Prenatal Fitness and Childbirth Ed Client
Went into spontaneous labor at 38 wks with baby #1 last night (born this morning) and was able to push through a very fast and intense labor (8 hrs active, 4 hrs of contractions with basically NO BREAK in between that got me from 1cm dilated to fully 😵💫) unmedicated! Pushed for an hr! I thank you both, your prenatal fitness program, and prepping pelvic floor fit birth for how much I rocked this delivery. THANK YOU!!!
Ronna
Prenatal Fitness and Childbirth Ed Client
I just wanted to leave a review for you, I took your prenatal bundle with the birth course, fitness app, and pelvic floor prep. I can't say enough good things about it, my only regret was not enrolling sooner! After having some nagging SI and pelvic pain, at 22 weeks I enrolled in your program and started the workouts on the app. After a few weeks,my pain was minimal except for the days I missed a workout or getting in movement. The birth course was very informative and I felt confident and excited about giving birth. While I did need to be induced at 39 weeks, I felt confident and understood my options. I had a great and speedy delivery with just a minor tear. I attribute this to the strategic movements I learned in the course throughout my labor and breathing during pushing, along with wonderful hospital staff. We were blessed with a healthy baby girl Ellie Jo. I look forward to using the fitness program again in the future and other courses you have! Thank you for all the time you put into creating such thorough content!
Lauren
Prenatal Fitness and Childbirth Ed Client
For what it's worth, I'm a PT myself (not a pelvic floor specialist), but am going to a PFPT. I also took a CEU course for my license and my own learning on pelvic floor health in pregnancy. With that background, I am utterly impressed with the content of your course so far. I was wondering if it'd be repetitive at all from the CEUs I recently took, but it hasn't been. It's so informative, thorough, and covers way more topics than I ever expected. Thank you!!
Now let’s warm up the wrists with gentle circular movements.
Make fists and slowly rotate your wrists inward and outward.
Switch directions after 30 seconds.
These movements help improve joint lubrication and restore mobility—especially important if you’ve been holding static positions for long periods (like cradling your baby or typing).
Step 3: Wrist Flexion and Extension
Next, rest your forearms on a surface or keep them lifted if you prefer.
With your palms facing down, curl your fists down and then up.
Flip your forearms over so palms face up, and repeat the curling motion.
If you notice any tightness or restriction—pause, breathe, and hold that position for a moment before releasing. This mindful approach helps improve your body’s awareness and range of motion.
Step 4: Lateral Wrist Movement
Now, make a thumbs-up position and move your wrist up and down along the side (the “blade” of your forearm). This targets the lateral wrist and forearm, which are often neglected but crucial for balanced mobility.
Step 5: Wrist Stretches
To stretch the forearm muscles:
Extend one arm forward and gently pull back on your fingers. You’ll feel a stretch along the underside of the forearm.
Flip your fingers down and pull back on the fingers again to stretch the top side.
Hold each position for 30 seconds, then switch to the other arm. Keep your arm straight the entire time for maximum benefit.
These stretches improve flexibility and circulation, helping to relieve tightness from repetitive strain.
Step 6: Strengthening with Weights
Now that we’ve mobilized the wrists, let’s strengthen them! Grab your light weight or household item and perform each of these movements for about 20 seconds per arm:
Palm Up Wrist Curls – Strengthen the forearm flexors.
Palm Down Wrist Curls – Target the extensors.
Thumbs Up Tilts – Move the wrist forward and back to work lateral stability.
This combination builds the muscular endurance and control you need for lifting, carrying, and daily parenting tasks.
Step 7: Continue Building Strength
To keep improving grip and forearm strength, try incorporating these functional movements into your routine:
Farmer’s carries (holding weights or even grocery bags)
Single-arm carries to challenge stability
Bar hangs or grip trainers (if comfortable)
These exercises not only enhance your wrist stability but also support your upper-body strength for all the demands of motherhood—feeding, lifting, carrying, and playing.
Final Thoughts on Easing Wrist Pain During Pregnancy
By the end of this 10-minute circuit, your wrists should feel more mobile, less tense, and stronger. Regularly including these exercises in your week can make a noticeable difference in wrist comfort and functionality.
Remember: pain is not a requirement of pregnancy or motherhood. With mindful movement and consistent care, your body can feel strong and supported through every stage.
Use code YouTube10 for 10% off any of our online offerings.
And if you enjoyed this routine, be sure to subscribe to our MamasteFit YouTube Channel—we release new workouts every Tuesday to support you through pregnancy, postpartum, and beyond.
Learn the science of pregnancy and birth to take the mystery of labor away! Understand why you are feeling what you feel, and learn strategies to confidently move through pregnancy and birth!
Find comfort and relief from pelvic girdle pain throughout your pregnancy and postpartum period! This program incorporates myofascial sling focused exercises to stabilize across the pelvic girdle joints.