

Table of Contents
Your pelvis plays an important role in how your pelvic floor functions, which is why pelvic floor strengthening exercises can involve so much more than the pelvic floor itself. When the muscles, joints, and surrounding tissues can move and respond to changes in position, your body is better equipped to manage movement, pressure, and everyday activities.
But what happens when one side of your pelvis feels tighter than the other? What if you notice a deep glute stretch on one side, a pinching sensation in one hip, or a difference in how easily you can shift your weight from left to right?
These differences may provide useful information about how your body moves and where you might benefit from more mobility or strengthening work.
This pelvic floor balancing workout combines two mobility exercises and two strengthening exercises to help you explore those differences and develop a more balanced approach to pelvic health. The movements focus on the relationship between pelvic positioning, hip rotation, and the muscles surrounding the pelvic floor.
The goal is not to force your pelvis into a perfect position. Instead, it’s to help you understand your movement patterns, improve your ability to change positions, and build strength where it may support better overall function.
Subscribe to our YouTube Channel for more weekly workouts and educational videos! We publish one new workout video and 2-3 educational videos a week on our channel.
Disclaimer: This blog is educational and is not a diagnosis or individualized treatment plan. If you have pelvic pain, pressure, urinary or bowel symptoms, or concerns during pregnancy or postpartum, work with an appropriate healthcare professional or pelvic floor physical therapist.
What Is Pelvic Floor Balancing?
Pelvic floor balancing is an approach to movement that considers how the two sides of your pelvis may differ in mobility, muscle tension, and strength.
Your pelvic floor is a group of muscles that spans the bottom of your pelvis. These muscles help support your pelvic organs, contribute to bladder and bowel control, assist with sexual function, and respond to changes in abdominal pressure.
They also work with the hips, pelvis, abdomen, and breathing muscles to help stabilize and move your body.

Why pelvic mobility matters
Your pelvis is not a rigid structure. The two sides can move in relation to one another as you walk, squat, hinge, climb stairs, and shift your weight.
For example, walking involves alternating between:
Loading one leg.
Rotating and shifting through the pelvis.
Extending the hip.
Transferring weight to the opposite side.
If a movement feels restricted or awkward on one side, you may find that certain positions feel different from one another.
The workout uses exaggerated versions of these movements to help you explore pelvic mobility. The exercises are not intended to replicate normal walking perfectly, but they can help you pay attention to how your body shifts, rotates, and loads each leg.
Join Our Pelvic Floor Foundations Course
Does pelvic floor tension always mean something is wrong?
No. Muscle tension is not automatically a problem. Your pelvic floor needs to be able to contract, lengthen, and relax appropriately for the task you’re performing.
The aim is not to eliminate all tension. Instead, the aim is to develop a pelvic floor and surrounding musculature that can respond to movement and pressure without unnecessary restriction or symptoms.
If you experience pelvic pain, painful intercourse, urinary leakage, constipation, or a persistent feeling of pelvic pressure, an individualized assessment may be helpful.
The 4-Exercise Pelvic Floor Balancing Workout
This routine is divided into two sections:
Part 1: Mobility
Standing Hip Shift – Targets the posterior pelvic floor. By shifting weight and rotating, you can stretch the glutes and explore differences between the left and right sides.
Lateral Hip Shift – Target the anterior (front) half of the pelvic floor, specifically the groin and inner thigh.
Part 2: Strength
Staggered Stance RDL – Uses a weight in the opposite hand and a band for adduction to emphasize internal rotation, strengthening the anterior pelvic floor.
B-Stance Squat – Uses a weight in the same-side hand (ipsilateral) and a band for abduction to strengthen the posterior (back) pelvic floor via the quads and glutes.
Equipment Needed
For the full workout, you’ll need:
One medium-to-heavy weight that you can control safely.
One long resistance band with an attachment point.
The band is optional. You can complete the workout without it by omitting the banded component of the strengthening exercises.
Choose a weight that allows you to maintain control, balance, and comfortable breathing throughout each repetition.
Part 1: Pelvic Floor Mobility
The first two exercises focus on mobility. They use different directions of hip shifting to explore the back and front portions of the pelvic floor.
Rather than rushing through these movements, pay attention to how each side feels.
Exercise 1: Standing Hip Shift
Primary focus: Posterior pelvic floor mobility and deep glute movement.
The standing hip shift is designed to explore the back half of the pelvic floor and the relationship between hip internal rotation, pelvic positioning, and the deep gluteal region.

How to perform the standing hip shift
Step 1: Set up your stance
Stand with your feet staggered.
Begin with your left leg as the primary weight-bearing leg.
Place your right foot slightly forward.
Bring your arms forward in front of your body.
Your left leg will be doing most of the work during this first variation.

Step 2: Rotate and hinge
Open your arms to the left, as though opening a book.
Hinge forward at your hips.
Think about sending your hips toward the wall behind you, rather than reaching your chest toward the floor.
Shift more of your weight into your left leg.
You may feel a deep stretch in the left glute or hip pocket.

Step 3: Explore the pelvic position
As you settle into the hinge, focus on a few details:
Keep more weight through the left foot, especially the big toe.
Allow the left knee to rotate slightly inward.
Think about bringing the right side of your pelvis forward.
Allow the left hip crease to move backward.
If comfortable, add a gentle tuck of the pelvis.
These adjustments are intended to help you explore a position involving more internal rotation of the left hip and a stretch through the posterior pelvic floor region.
You should feel: A deep glute or hip-pocket stretch, rather than sharp pain or a pinching sensation in the hip.

Move in and out of the hip shift
Once you find the position:
Extend through your hips to return to standing.
Shift back into the left hip shift.
Repeat slowly and with control.
As you extend, your weight may become more evenly distributed between both feet. As you return to the hip shift, place more weight into the left leg again.
Repeat on the right side
Now switch your stance:
Place more weight into your right leg.
Bring your left foot slightly forward.
Hinge toward the right leg.
Reach toward the right foot.
Think about keeping weight through the right big toe.
Allow the right knee to rotate slightly inward.
Bring the left hip forward as the right hip crease moves backward.
Add a gentle pelvic tuck if it feels comfortable.
Repeat the same controlled movement in and out of the hip shift.

What to notice
Compare the two sides:
Does one side feel tighter?
Does one side feel easier to enter?
Is the movement smoother on one leg?
Does one side feel more restricted or clunky?
Do you notice a difference in the deep glute stretch?
The workout emphasizes that the left posterior pelvic floor often feels tighter, while the right side may feel different. However, this is not universal. Your own movement experience is more important than trying to force your body to match a typical pattern.
Why this exercise matters
The standing hip shift is an exaggerated version of the weight shifting that occurs during walking.
As you step, each side of the pelvis needs to rotate and move through different positions. Practicing controlled weight shifts may help you become more comfortable with this movement.
If shifting from side to side feels particularly difficult, it may be useful to explore whether limited hip or pelvic mobility contributes to discomfort around the sacroiliac joint or pubic region. This exercise cannot determine the cause of pain, but it can help you identify differences worth discussing with a qualified provider.
 On-demand video · 30 workouts
Core, Pelvic Floor & Pelvic Stability
Thirty follow-along workouts across beginner, novice, and advanced levels, ten per level — core and pelvic floor strength for pain relief in pregnancy or postpartum.
Learn more
On-demand video · 30 workouts
Core, Pelvic Floor & Pelvic Stability
Thirty follow-along workouts across beginner, novice, and advanced levels, ten per level — core and pelvic floor strength for pain relief in pregnancy or postpartum.
Learn more
 Bundle · lifetime access
MamasteFit Bundles
Combine courses and programs for lifetime access and save up to 15% — grouped for birth preparation, the third trimester, or the whole pre and postnatal journey.
Learn more
Bundle · lifetime access
MamasteFit Bundles
Combine courses and programs for lifetime access and save up to 15% — grouped for birth preparation, the third trimester, or the whole pre and postnatal journey.
Learn more
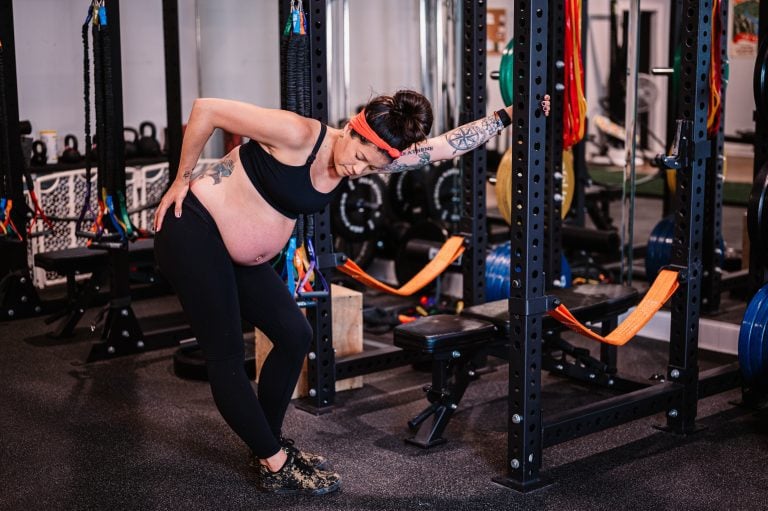 On-demand video · 128 workouts
Prenatal Workout On-Demand
Follow-along workouts from week 5 to week 41, four or five a week with guided warm-ups and cool-downs — over 128 sessions coached in real time alongside the video.
Learn more
On-demand video · 128 workouts
Prenatal Workout On-Demand
Follow-along workouts from week 5 to week 41, four or five a week with guided warm-ups and cool-downs — over 128 sessions coached in real time alongside the video.
Learn more
Exercise 2: Lateral Hip Shift
Primary focus: Anterior pelvic floor mobility, inner thigh, and groin flexibility.
The lateral hip shift changes the direction of movement. Instead of emphasizing the posterior hip pocket, this exercise explores the inner thigh and groin region.

How to perform the lateral hip shift
Step 1: Set up your stance
Stand with your feet wider than hip distance.
Keep both feet parallel.
Place weight through both big toes.
Begin by shifting your weight toward the left leg.
Adjust your stance as needed so you can move comfortably.

Step 2: Shift into the left leg
Bend your left knee.
Sit your hips back slightly, as though sitting into a chair.
Allow your left hip to bend.
Keep your right leg more extended.
Shift your weight into the left side.
Your primary target is the right inner thigh and groin.
To intensify the stretch, you can think about gently rotating your right knee upward toward the ceiling. You may also find that a slight arch in your lower back changes the sensation.
Do not force the rotation or arch. The goal is to explore a comfortable stretch, not to push aggressively into the groin.

Move in and out of the lateral hip shift
Once you find the stretch:
Extend through your hips to come back toward the center.
Shift back into the left leg.
Repeat the movement slowly.
This turns the exercise from a static stretch into a controlled, one-sided mobility drill.

Switch to the right side
Now shift your weight toward your right leg.
Bend your right knee.
Sit back into the right hip.
Keep your feet parallel.
Keep weight through both big toes.
Allow the left leg to lengthen.
Think about rotating your left knee upward.
Drive your left hip toward your right foot.
You should feel more of a stretch through the left inner thigh and groin.

Compare both sides
Ask yourself:
Which side feels more intense?
Does one side feel more restricted?
Is the stretch similar on both sides?
Does one side feel easier to control?
Is there any pinching in the hip?
The workout discusses a common pattern in which the right anterior pelvic floor may feel more active or shortened, but this should not be assumed for everyone.
If one side feels significantly tighter, that can be a reason to explore mobility work more intentionally on that side, provided the movement is comfortable and appropriate for you.
Add alternating lateral hip shifts
Once you’ve explored each side separately, alternate between them.
Shift left, then right, moving at a controlled pace.
You can add an upper-body reach:
As you shift left, reach your left hand toward your right foot.
As you shift right, reach your right hand toward your left foot.
This adds thoracic and upper-body rotation to the movement.
If you have difficulty feeling your pelvis rotate, exaggerating the upper-body rotation slightly may help encourage movement through the pelvis. You can also place your hands on your hips to observe the change in pelvic position.
As you shift right, the left hip may lower relative to the right. As you shift left, the right hip may lower relative to the left.


Why this exercise matters
The lateral hip shift explores the front portion of the pelvic floor through movement of the hips, inner thighs, and groin.
It can be especially useful for people who notice differences in how their hips rotate or how comfortable they feel in wide-stance positions.
However, a groin stretch or hip sensation does not automatically indicate pelvic floor overactivity. Hip joints, adductors, connective tissues, and other structures can contribute to what you feel. Use the exercise as a movement exploration rather than a diagnostic test.
Part 2: Pelvic Floor Strengthening Exercises for Pelvic Balance
Mobility is only one part of pelvic health. After exploring areas that feel restricted, the next step is to build strength and control.
The strengthening section uses two exercises:
Staggered stance Romanian deadlift (RDL).
B stance squat.
Both exercises are performed on each side, with different weight and band positions to emphasize different movement strategies.
The goal is to help your muscles actively control pelvic position rather than relying on stretching alone.
Exercise 3: Banded Staggered Stance Romanian Deadlift
Primary focus: Hamstrings, inner thighs, hip hinge strength, and controlled internal rotation.
The staggered stance RDL combines a hip hinge with a banded adduction setup. It emphasizes the hamstrings and inner thigh muscles while challenging you to control your pelvis during movement.
Equipment setup
For this exercise:
Place the long resistance band around the inside of your working thigh.
Hold the weight in the hand opposite your working leg.
Use a staggered stance with more weight in the working foot.
For example, when working the left leg, hold the weight in your right hand.
This is called a contralateral hold, meaning the weight is held on the opposite side of the working leg.
*Note* After you perform the RDL on the left side, you will turn around and perform the B-stance squat on the left side before repeating the exercises on the other foot.
How to perform the left-side RDL
Set up with your left foot as the primary weight-bearing leg.
Place the right foot slightly behind or in a staggered position.
Position the band around the inside of the left thigh.
Hold the weight in your right hand.
Shift more weight into the left foot.
Hinge forward at the hips.
Bring the weight toward the left foot.
Exhale as you stand back up.
Think about bringing the right hip slightly forward as you lower into the RDL. As you stand, allow both hip points to return toward facing forward.

Breathing pattern
Inhale as you lower.
Exhale as you stand.
The exhale can help you coordinate the movement with your breathing and maintain control as you lift.
What muscles are working?
The staggered stance RDL primarily challenges:
Hamstrings.
Gluteal muscles.
Inner thigh muscles.
Hip stabilizers.
Core muscles that help control the trunk and pelvis.
This exercise is a great strategy for strengthening the anterior portion of the pelvic floor by emphasizing internal rotation and adduction.
It’s important to understand that strengthening your hamstrings or adductors does not directly strengthen the pelvic floor in isolation. Rather, these muscles contribute to the broader system of muscles and movements that support pelvic control.
Try a slow tempo
Once you are comfortable with the movement, slow it down.
For example:
Lower over several seconds.
Pause briefly at the bottom.
Stand slowly and with control.
The workout emphasizes slow movement because it can help you feel the movement more clearly and practice controlling the pelvis throughout the range of motion.
Choose a tempo that allows you to maintain good technique without straining or holding your breath.
Exercise 4: B Stance Squat
Primary focus: Quadriceps, glutes, hip stability, and controlled external rotation.
The B stance squat is the second strengthening exercise. It uses a staggered stance and a different band and weight position from the RDL.
Where the RDL emphasizes a hip hinge, the B stance squat challenges the quads and glutes through a more upright squat pattern.
Equipment setup
For the B stance squat:
Turn around so the band is positioned to pull the working knee inward.
Hold the weight in the same hand as the working leg.
Use a staggered stance, with the working leg doing most of the work.
For example, when working the left leg, hold the weight in your left hand.
This is called an ipsilateral hold, meaning the weight is held on the same side as the working leg.

How to perform the left-side B stance squat
Set up with the left leg as your primary working leg.
Position the band so it pulls the left knee inward.
Hold the weight in your left hand.
Keep your working knee stacked over your ankle.
Lower into a controlled staggered squat.
Stand back up through the working leg.
The band challenges your outer glutes to help maintain knee alignment.
Your torso will be more upright than in the RDL, placing more emphasis on the quads and glutes.

Why the band matters
The band creates an inward pull at the knee. Your outer hip muscles must work to resist that pull and keep the knee in a controlled position.
This is a form of resisted hip abduction demand.
The workout uses this setup to emphasize a movement strategy involving more external rotation and posterior pelvic control.
You do not need to force your hip into external rotation. Instead, focus on keeping your knee aligned, maintaining balance, and allowing your hip to move naturally.
Breathing pattern
Inhale as you lower into the squat.
Exhale as you stand.
Keep your breathing comfortable and avoid bearing down or holding your breath unnecessarily.
Repeat on the right side
Switch the band to the inside of your right thigh.
Hold the weight in your left hand, creating the same opposite-side loading pattern.
Repeat the staggered stance RDL on the right:
Inhale to lower.
Hinge at the hips.
Bring the left hip slightly forward as you lower.
Exhale to stand.
Return to your starting position with control.
Compare how the two sides feel.
Does one side feel easier to stabilize? Does one side feel more restricted in the hip? Is the hinge smoother on one leg?
These observations can help you understand where you may want to place more attention in your training.

Repeat on the right side
Turn around and switch the band to the outside of the right thigh or knee.
Hold the weight in your right hand.
Repeat the same B stance squat:
Lower with control.
Keep the right knee aligned over the ankle.
Maintain a stable foot.
Exhale to stand.
Compare the right and left sides. Notice whether one feels stronger, smoother, or easier to control.

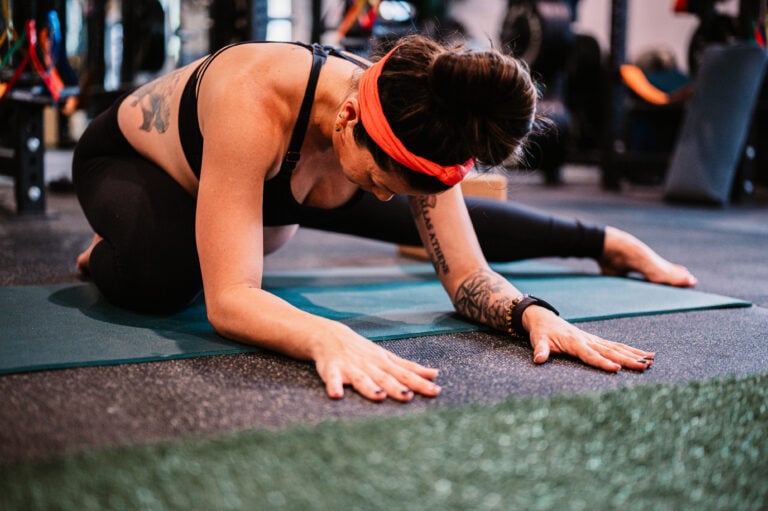 Video course · 7 modules
Prepare Your Pelvic Floor For Birth
Seven modules on releasing the pelvic floor rather than only strengthening it — breathing drills, thoracic and pelvic mobility, and how to relax it during labor.
Learn more
Video course · 7 modules
Prepare Your Pelvic Floor For Birth
Seven modules on releasing the pelvic floor rather than only strengthening it — breathing drills, thoracic and pelvic mobility, and how to relax it during labor.
Learn more
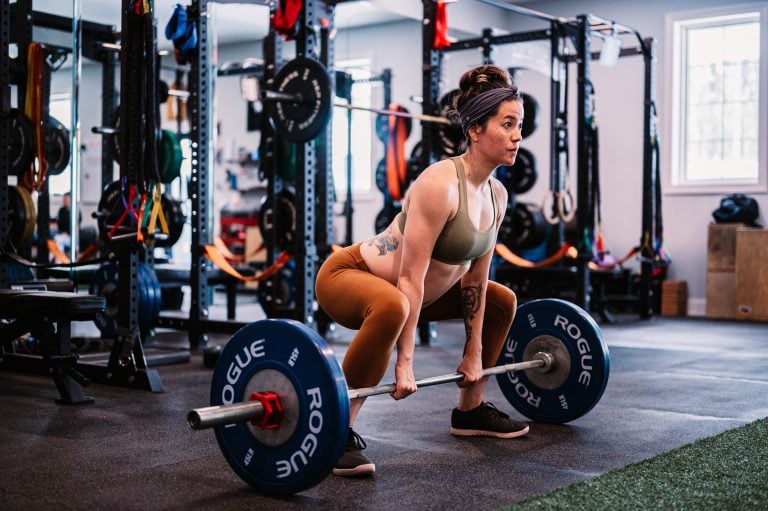 App program · 40 weeks
Prenatal Strength Training
A gym-based program that syncs to your current week of pregnancy — four strength sessions plus one pelvic stability workout a week, with demo videos for every exercise.
Learn more
App program · 40 weeks
Prenatal Strength Training
A gym-based program that syncs to your current week of pregnancy — four strength sessions plus one pelvic stability workout a week, with demo videos for every exercise.
Learn more
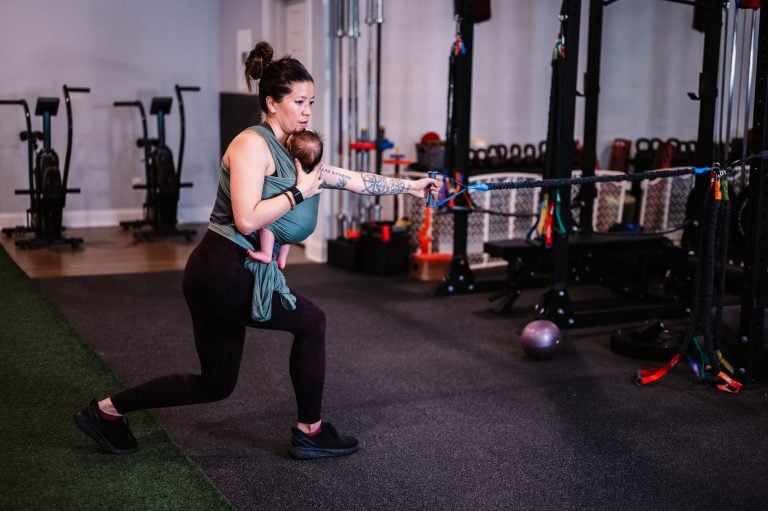 App program · 16 weeks
Postpartum Return to Fitness
Sixteen weeks of rebuilding, four strength sessions a week, with a vaginal or cesarean recovery track and follow-along videos for the first six weeks.
Learn more
App program · 16 weeks
Postpartum Return to Fitness
Sixteen weeks of rebuilding, four strength sessions a week, with a vaginal or cesarean recovery track and follow-along videos for the first six weeks.
Learn more
How to Use the Side-to-Side Differences in Your Workout
One of the most valuable parts of this routine is the opportunity to compare your left and right sides.
The workout presents a common pattern:
Pelvic region | Commonly described pattern | Movement focus |
|---|---|---|
Left posterior | May feel tighter or more active | Standing hip shift |
Right anterior | May feel tighter or more active | Lateral hip shift |
Left anterior | May benefit from more hamstring and adductor strength | Contralateral RDL |
Right posterior | May benefit from more quad and glute strength | Ipsilateral B stance squat |
These patterns are not universal anatomical rules. People can have different movement strategies, injury histories, muscle strengths, and pelvic floor symptoms.
Use the table as a framework for exploring movement, not as a way to label your body.
If the left standing hip shift feels more intense
You may notice more sensation in the left deep glute during the standing hip shift.
If it feels comfortable, you can spend a little more time exploring the left side. You might use slower repetitions or a gentle pause in the position.
You do not need to force a deeper stretch. A stronger sensation is not necessarily a better result.
If the right lateral hip shift feels more intense
The right inner thigh and groin may feel more intense during the lateral hip shift.
You can explore this side with controlled repetitions, keeping the stretch within a comfortable range.
If the sensation is a sharp pinch, especially deep in the hip, avoid pushing further into the movement.
If the left RDL feels like a good strengthening opportunity
The workout discusses using hamstring- and adductor-focused strengthening to support more balanced control on the left side.
If the left RDL feels comfortable and well controlled, you can incorporate it into your strength routine.
Remember that both sides still benefit from general strength training. You do not need to avoid training one muscle group simply because one side may already feel stronger.
If the right B stance squat feels more beneficial
The right B stance squat emphasizes the quads and glutes while the band challenges the outer hip.
If this movement feels smoother or more supportive on the right, it may be a useful exercise to include in your routine.
However, if the movement causes hip pinching, pelvic pain, or other symptoms, adjust the stance, reduce the load, or choose a different exercise.
Why Mobility and Strength Work Together
Stretching and strengthening serve different purposes.
Mobility helps you explore movement
The standing hip shift and lateral hip shift focus on exploring pelvic and hip positions that may feel restricted or unfamiliar.
They encourage you to move into different directions, including:
Hip internal rotation.
Hip external rotation.
Lateral weight shifting.
Hip flexion and extension.
Pelvic rotation.
Mobility work can be useful when your body feels stiff or when certain movements are difficult to access.
Strength helps you control movement
The RDL and B stance squat help you build the muscular capacity to move and stabilize your pelvis.
Strength training can improve your ability to:
Control your hips during a hinge.
Maintain knee alignment during a squat.
Transfer weight from one leg to the other.
Manage resistance through different pelvic positions.
Build confidence in everyday movements.
Why both are important
If you only stretch, you may improve your ability to enter a position without developing the strength to control it.
If you only strengthen, you may continue to struggle with a movement that feels restricted or uncomfortable.
Combining mobility and strength allows you to explore a range of motion and then practice controlling that movement under load.
This is particularly relevant for activities such as walking, running, lifting, and caring for children, where your pelvis needs to move and support your body repeatedly.
Pelvic Floor Balancing During Pregnancy and Postpartum
Pelvic floor mobility and strength can be important throughout pregnancy and after birth. However, the appropriate exercises, intensity, and range of motion depend on your individual stage of recovery and symptoms.
During pregnancy
As pregnancy progresses, changes in body size, posture, balance, and load distribution may affect how certain movements feel.
You may find that:
A wide stance feels more comfortable than a narrow stance.
You need to reduce the depth of a squat.
You prefer a lighter weight.
A supported variation improves balance.
Certain hip positions feel more restricted.
Modify the exercises to suit your comfort and stability.
For example, you can perform a smaller lateral hip shift or use a support such as a wall or sturdy surface if balance is challenging.
If you have pelvic girdle pain, pubic symphysis pain, or significant discomfort with single-leg loading, consult your maternity care provider or pelvic health physical therapist for individualized guidance.
After birth
Postpartum recovery is not simply about returning to your pre-pregnancy workout.
Your body may need time to rebuild strength, coordination, and tolerance to loading. Your pelvic floor also needs to be able to respond to pressure and movement in ways that are appropriate for your recovery.
You may benefit from gradually reintroducing:
Hip mobility.
Controlled weight shifting.
Supported strength exercises.
Breathing coordination.
Progressive loading.
If you experience urinary leakage, pelvic heaviness, pain, or pressure during exercise, consider working with a pelvic floor physical therapist.
The goal is not to push through symptoms. It is to build a foundation that supports your recovery and long-term fitness.
Common Mistakes to Avoid
1. Forcing a deeper stretch
A deeper stretch is not always better. If you feel sharp pain, pinching, or discomfort that increases as you move deeper, back off.
Stay within a range that allows you to breathe and maintain control.
2. Treating one side as the “bad” side
Side-to-side differences are common. One side may feel tighter, while the other may feel weaker or less coordinated.
This does not automatically mean that one side is dysfunctional.
Use the differences as information, not as a reason to criticize your body.
3. Letting the knee collapse during the squat
During the B stance squat, the band pulls the knee inward. Your job is to control that movement and keep the knee aligned with the foot.
If the knee is collapsing inward or you lose your balance, reduce the load or adjust the stance.
4. Rushing the strengthening exercises
The RDL and B stance squat are intended to build control.
Move slowly enough to feel the working muscles and maintain a stable trunk and pelvis.
A lighter weight with good technique is more useful than a heavier weight that causes you to lose control.
5. Holding your breath
Breathing is an important part of coordinating movement and pressure.
Inhale as you lower into the RDL or squat, and exhale as you stand. Avoid unnecessarily holding your breath or bearing down throughout the movement.
Frequently Asked Questions
Can these exercises help with pelvic floor tightness?
They may help you explore movement around the hips and pelvis and identify areas that feel restricted. However, they cannot diagnose pelvic floor tightness or guarantee symptom relief.
Persistent pelvic floor pain or dysfunction may require individualized assessment and treatment.
Do I need a resistance band?
No. The band is optional.
You can perform the mobility exercises without equipment. For the strength exercises, you can omit the banded component and focus on controlled movement with an appropriate weight.
Should I do more exercises on one side?
You can explore the side that feels more restricted or less coordinated, but you do not need to train one side exclusively.
The routine is designed to be performed on both sides so you can compare how the movements feel.
How often should I do this workout?
The source material does not provide a specific weekly frequency. You can incorporate the exercises into your normal fitness routine based on your comfort, goals, and training schedule.
Mobility exercises may fit well into a warm-up or recovery session. The strengthening exercises can be included in a lower-body strength workout.
Can these exercises fix SI joint pain or pubic pain?
There is no guarantee that these exercises will fix pain.
The workout discusses how restrictions in pelvic mobility may contribute to discomfort for some people, but pain can have many causes.
If you have ongoing SI joint pain, pubic pain, or pelvic girdle pain, seek an individualized evaluation rather than relying on exercises alone.
Can I do this workout during pregnancy?
Many of these movements may be adaptable during pregnancy, but the appropriate range of motion, loading, and stance will vary.
If you have pregnancy-related pain, balance concerns, or medical restrictions, consult your healthcare provider before beginning or modifying the workout.
Final Thoughts: Build a Pelvis That Can Move and Get Strong
Pelvic floor health is about more than simply strengthening the pelvic floor muscles.
It’s also about how your pelvis, hips, inner thighs, glutes, and core work together to support movement.
This four-exercise workout combines mobility and strength to help you explore how your pelvis moves on each side.
The standing hip shift focuses on the posterior hip and pelvic floor region. The lateral hip shift explores the inner thigh and groin. The staggered stance RDL builds strength through the hamstrings and adductors, while the B stance squat challenges the quads and glutes.
Together, these movements provide a framework for developing better awareness of your body and building strength through different pelvic positions.
The most important takeaway is to pay attention to how you feel. You do not need to force your body into a particular pattern or perform every exercise with the same intensity. Use the movements to explore what feels comfortable, what feels restricted, and where you may benefit from more controlled strength work.
A balanced approach to pelvic health is not about making both sides identical. It’s about developing the mobility, strength, and coordination to move through life with confidence.
If you want to learn more, be sure to join our Pelvic Floor Foundations course, where we teach you our approach to supporting your pelvic floor with breath and movement to optimize your pelvic floor’s function in pregnancy, as part of your birth prep, and recovery after birth.
If you experience persistent pelvic pain, urinary or bowel symptoms, pelvic heaviness, or pain during exercise, seek guidance from a qualified pelvic floor physical therapist or healthcare provider.
Check Out Our Previous Pelvic Floor Week Workout Videos!
On-demand video · 30 workouts
Core, Pelvic Floor & Pelvic Stability
Thirty follow-along workouts across beginner, novice, and advanced levels, ten per level — core and pelvic floor strength for pain relief in pregnancy or postpartum.
Learn more
Bundle · lifetime access
MamasteFit Bundles
Combine courses and programs for lifetime access and save up to 15% — grouped for birth preparation, the third trimester, or the whole pre and postnatal journey.
Learn more
On-demand video · 128 workouts
Prenatal Workout On-Demand
Follow-along workouts from week 5 to week 41, four or five a week with guided warm-ups and cool-downs — over 128 sessions coached in real time alongside the video.
Learn more