Left-Sided Pelvic Floor: Tailbone, SI Joint & Sciatic Pain
Fitness, Pelvic Floor, Postpartum, Pregnancy
If you’ve been dealing with nagging discomfort like tailbone pain, left SI joint pain, or even sciatic symptoms, you’re not alone—and more importantly, you’re not stuck with it. This targeted pelvic floor workout is designed specifically to address tension in the left posterior pelvic floor, a commonly overlooked contributor to these issues.
Let’s break down what’s happening in your body and how this workout can help you move—and feel—better.
Subscribe to our YouTube Channelfor more weekly workouts and educational videos! We publish one new workout video and 2-3 educational videos a week on our channel.
Understanding Left SI Joint Pain and the Posterior Pelvic Floor
The pelvic floor isn’t a single muscle that’s either “tight” or “weak.” It’s a dynamic group of muscles that respond to your posture, movement patterns, and how you distribute your weight throughout the day.
A few key factors often contribute to left-sided discomfort:
Many people naturally shift more weight into their right leg
The right diaphragm and organ placement create a sense of stability on that side
This can make it harder to fully load and stabilize through the left hip
Over time, this imbalance can lead to:
Increased tension in the left posterior pelvic floor
Poor weight transfer into the left side
Compensation patterns that contribute to pain or nerve irritation
In some cases, this tension can even pull the tailbone slightly off-center or compress nerves in the back of the pelvis.
Why This Workout Works
This routine is designed to address the root cause—not just the symptoms—by combining three essential components:
1. Pelvic Mobility
We start by improving how your pelvis moves, especially your ability to shift into the left hip. If your body can’t access certain positions, it will compensate—and that’s often where pain begins.
2. Strategic Strengthening
Instead of randomly strengthening the pelvic floor, we target specific muscle groups:
Inner thighs (adductors)
Hamstrings
Glutes and lats (posterior oblique sling)
These muscles help reposition the pelvis into a more balanced, stable alignment.
3. Coordination & Stability
By incorporating full-body movement patterns, we train your body to:
Transfer weight effectively
Stabilize through the SI joint
Reduce unnecessary strain on the pelvic floor
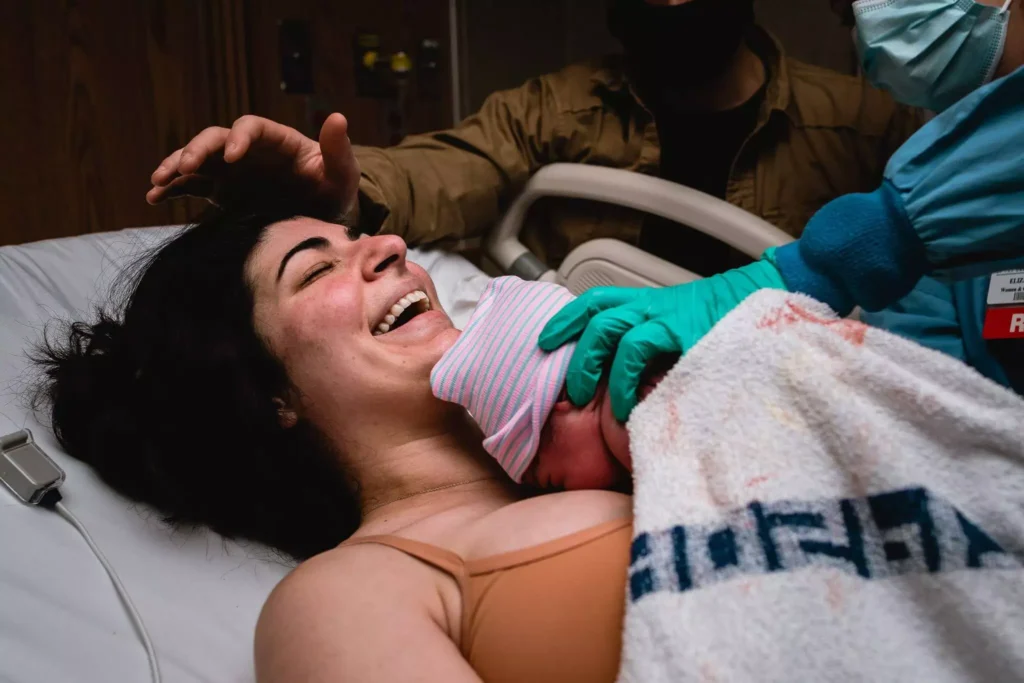
Kaitlin
Prenatal Fitness and Childbirth Ed Client
Went into spontaneous labor at 38 wks with baby #1 last night (born this morning) and was able to push through a very fast and intense labor (8 hrs active, 4 hrs of contractions with basically NO BREAK in between that got me from 1cm dilated to fully 😵💫) unmedicated! Pushed for an hr! I thank you both, your prenatal fitness program, and prepping pelvic floor fit birth for how much I rocked this delivery. THANK YOU!!!
Ronna
Prenatal Fitness and Childbirth Ed Client
I just wanted to leave a review for you, I took your prenatal bundle with the birth course, fitness app, and pelvic floor prep. I can't say enough good things about it, my only regret was not enrolling sooner! After having some nagging SI and pelvic pain, at 22 weeks I enrolled in your program and started the workouts on the app. After a few weeks,my pain was minimal except for the days I missed a workout or getting in movement. The birth course was very informative and I felt confident and excited about giving birth. While I did need to be induced at 39 weeks, I felt confident and understood my options. I had a great and speedy delivery with just a minor tear. I attribute this to the strategic movements I learned in the course throughout my labor and breathing during pushing, along with wonderful hospital staff. We were blessed with a healthy baby girl Ellie Jo. I look forward to using the fitness program again in the future and other courses you have! Thank you for all the time you put into creating such thorough content!
Lauren
Prenatal Fitness and Childbirth Ed Client
For what it's worth, I'm a PT myself (not a pelvic floor specialist), but am going to a PFPT. I also took a CEU course for my license and my own learning on pelvic floor health in pregnancy. With that background, I am utterly impressed with the content of your course so far. I was wondering if it'd be repetitive at all from the CEUs I recently took, but it hasn't been. It's so informative, thorough, and covers way more topics than I ever expected. Thank you!!
Now that you’ve created mobility and activation, it’s time to integrate that into upright movement.
4. Standing Left Hip Shift
Place your left foot on a yoga block
Load into the left hip while hinging slightly forward
Keep weight in your left big toe
Maintain a soft bend in the knee
Goal: Improve your ability to fully load and stabilize through the left leg.
5. Alternating Hip Shifts
Shift weight side-to-side between both legs
Focus on smooth, controlled transitions
Goal: Restore natural weight transfer and reduce compensatory movement patterns.
6. Banded Posterior Oblique Sling (Standing)
Using a resistance band:
Hinge forward while reaching (lengthening phase)
Row and extend the hip (shortening phase)
Perform on both sides
Goal: Train full-body coordination and SI joint stability through dynamic movement.
7. Single-Leg Deadlift (SLDL)
Hold a weight in your right hand while standing on your left leg:
Hinge forward with control
Keep hips square or slightly internally rotated
Return to standing using your hamstring and glute
Switch sides with slight variation:
Same-side hold emphasizes external rotation
Opposite-side hold emphasizes internal rotation
Goal: Strengthen hamstrings and improve pelvic control during functional movement.
Why Inner Thighs & Hamstrings Matter
The adductors and hamstrings play a huge role in pelvic positioning. They help guide the pelvis into internal rotation, which is often lacking on the left side.
If the left hip stays “open”:
It becomes harder to stabilize
The SI joint may take on extra stress
The pelvic floor may compensate with tension
By strengthening these muscles, you’re restoring balance and reducing strain.
What You Can Expect
With consistent practice, this type of workout can help:
Reduce tailbone pain
Improve left SI joint stability
Decrease sciatic or piriformis-related discomfort
Enhance overall pelvic mobility and control
If you try this workout, pay attention to what feels different:
Does one side feel harder to load?
Are certain movements more awkward?
Do you feel relief afterward?
Those insights matter—and they guide your progress.
Final Thoughts
Pain is common—but it’s not something you have to accept as your baseline.
By addressing:
Mobility limitations
Strength imbalances
Coordination deficits
…you can create meaningful, lasting relief.
This approach is especially valuable during:
Pregnancy
Postpartum recovery
Long-term motherhood and beyond
Your body is adaptable—and with the right inputs, it can feel strong, balanced, and pain-free again.
Learn the science of pregnancy and birth to take the mystery of labor away! Understand why you are feeling what you feel, and learn strategies to confidently move through pregnancy and birth!
Find comfort and relief from pelvic girdle pain throughout your pregnancy and postpartum period! This program incorporates myofascial sling focused exercises to stabilize across the pelvic girdle joints.