
Table of Contents
Pelvic mobility plays an important role in how we move, exercise, walk, run, and manage pressure throughout our bodies. When the pelvis can move and rotate effectively, it can better coordinate with the hips, feet, rib cage, and pelvic floor, which may support better pelvic floor mobility as well.
This advanced standing pelvic mobility workout combines mobility exercises with strength training to help you explore how your pelvis moves on your femur, how your weight shifts through your feet, and how your upper and lower body work together.
Whether you’re working on pelvic floor function during pregnancy, rebuilding strength postpartum, or simply looking to improve how your body moves, this workout offers an opportunity to develop greater awareness and control.
This workout is part of our Pelvic Floor Foundations Course and focuses on integrating pelvic mobility, thoracic mobility, and strength training.
Subscribe to our YouTube Channel for more weekly workouts and educational videos! We publish one new workout video and 2-3 educational videos a week on our channel.
Disclaimer: This blog is educational and is not a diagnosis or individualized treatment plan. If you have pelvic pain, pressure, urinary or bowel symptoms, or concerns during pregnancy or postpartum, work with an appropriate healthcare professional or pelvic floor physical therapist.
What Is Pelvic Mobility?
Pelvic mobility refers to how well your pelvis can move in relation to your femur, or thigh bone. In standing movements, your feet are connected to the ground, which creates a stable base for the pelvis to move around the femur.
This movement is different from hip rotation, where the femur moves in relation to the pelvis.
Both types of movement are important, but this workout places a particular emphasis on pelvic rotation, especially how the pelvis moves as you shift your weight from one foot to the other.
Your pelvis doesn’t work in isolation. It is part of a larger movement system that includes:
Your feet and how you distribute your weight.
Your hips and femurs.
Your pelvis and its ability to rotate.
Your rib cage and thoracic spine.
Your pelvic floor and how it coordinates with movement and pressure.
When these areas work together, movement can feel more integrated and controlled.
Join Our Pelvic Floor Foundations Course
How Pelvic Mobility Relates to Pelvic Floor Mobility and Function
The pelvic floor is influenced by the position and movement of the pelvis. As your pelvis changes position, the muscles and connective tissues surrounding the pelvic floor also experience changes in their relationship to the rest of the body.
This is one reason why pelvic floor training shouldn’t always focus exclusively on contracting or relaxing the pelvic floor muscles.
Sometimes, pelvic floor symptoms may be influenced by how the pelvis, rib cage, hips, or feet are moving and coordinating. Improving movement in these areas can be a useful part of a broader approach to pelvic floor function.
This doesn’t mean that every pelvic floor symptom is caused by poor mobility, or that mobility exercises alone will resolve symptoms. However, exploring how your body moves as a whole can be valuable.
What You’ll Need for This Workout
Equipment Needed
Gather the following equipment before starting this workout:
Long resistance band with an attachment point.
Medium to heavy weight for staggered stance Romanian deadlifts.
Light to medium weight for single-leg squats.
Mini resistance band.
Foam roller for balance support and hip airplanes.
Wall or another stable support for balance, if needed.
You can modify the workout by using a lighter weight, reducing the range of motion, or holding onto a wall or foam roller for additional support.
Workout Overview
This is an advanced pelvic mobility flow that combines weight shifting, pelvic rotation, upper-body movement, and single-leg strength.
Pelvic Mobility Flow
Complete the exercises on both sides where indicated. Use controlled movement and prioritize quality over speed.
- Standing hip shift to move
- Standing archer row
- Staggered stance RDL
- Standing banded abduction + archer press
- Single-leg squat with banded abduction
- Weighted hip airplane
1. Standing Hip Shift to Move
The standing hip shift introduces the main movement pattern used throughout the workout. Before adding resistance or strength exercises, you’ll practice shifting your weight between your feet while noticing how your pelvis rotates.
How to Perform the Standing Hip Shift
Begin in a staggered stance with your left foot behind you and your right foot in front.
Shift your weight back into your left heel.
As you shift backward, allow your left hip to move back and your right hip to come forward.
Shift your weight forward into your right foot, placing more weight through your right big toe and arch.
As you come forward, allow your hips to become more square.
Continue moving slowly between the two positions.


What to Focus On
As you shift backward, notice the weight moving into your heel. As you come forward, notice the weight moving toward your big toe and arch.
The pelvis rotates as the weight shifts:
Backward shift: More weight through the back heel, with the back hip moving behind you.
Forward shift: More weight through the front big toe and arch, with the pelvis becoming more square.
The movement should feel like a smooth transition rather than a large, forced twist.
Why This Movement Matters
The standing hip shift helps you explore pelvic rotation while integrating the feet and lower body. This is the foundation for the standing archer row and archer press that follow.
Repeat on the opposite side, placing your right foot behind you and your left foot forward.
2. Standing Archer Row
The standing archer row adds upper-body movement to the hip shift. As you row the band backward, you coordinate your weight shift, pelvic rotation, and rib cage movement.
This is a great example of how strength training can be used to develop movement awareness throughout the entire body.
How to Set Up
Attach a long resistance band to a secure anchor point.
Start with your left foot behind you and your right foot forward.
Hold the band in your left hand.
Reach your right arm forward.
Maintain a comfortable staggered stance with a slight bend in your knees.
If you don’t have an attachment point, you can hold the band and use your free hand as an anchor point.

How to Perform
Inhale as you prepare to move.
Exhale as you row the band backward with your left arm.
At the same time, shift your weight into your left heel.
Allow your left hip to move back as your right hip comes forward.
As you row, gently rotate your upper body and bring your left side body into a slight crunch.
Inhale as you release the row and shift forward into your right foot.
Reach forward again and return to the starting position.
Continue for controlled repetitions.

The Side-Body Connection
One of the key details of this movement is the relationship between the left rib cage and the left hip.
As you row back, think about gently decreasing the space between your bottom left rib cage and your left hip. Your left obliques help create this side-body crunch.
You may notice:
A stretch through the left glute as the left hip moves back.
Activation through the left obliques as you row.
Rotation through the rib cage.
A coordinated shift of weight through the feet.
The goal isn’t to force a deep side bend. Instead, allow the movement to happen naturally as you shift into the heel and row the band.
Complete the Other Side
Switch your stance so your right foot is behind you and your left foot is forward.
Start with the standing hip shift to move on the right side, then move into the archer row.
Hold the band in your right hand, shift into your right heel as you row, and gently rotate toward the right side.
As you perform this variation, notice the right hip moving back and the right obliques helping to create the side-body crunch.
Movement cue: Exhale to row and shift back. Inhale to release and shift forward.

 On-demand video · 30 workouts
Core, Pelvic Floor & Pelvic Stability
Thirty follow-along workouts across beginner, novice, and advanced levels, ten per level — core and pelvic floor strength for pain relief in pregnancy or postpartum.
Learn more
On-demand video · 30 workouts
Core, Pelvic Floor & Pelvic Stability
Thirty follow-along workouts across beginner, novice, and advanced levels, ten per level — core and pelvic floor strength for pain relief in pregnancy or postpartum.
Learn more
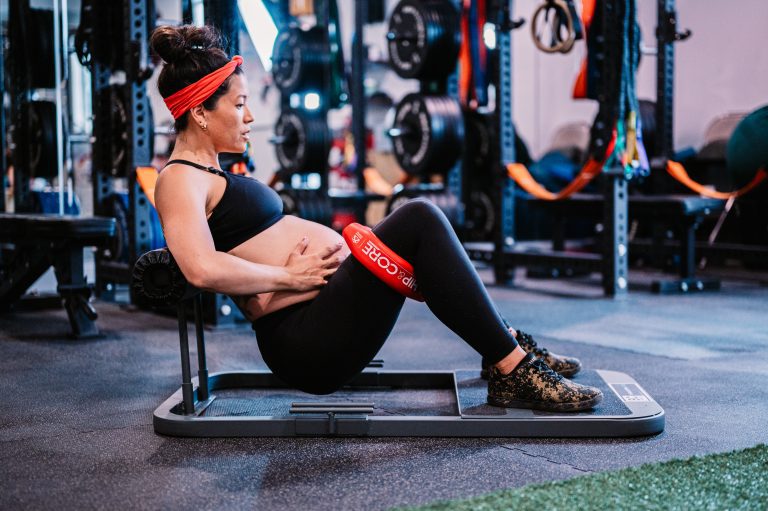 Bundle · lifetime access
MamasteFit Bundles
Combine courses and programs for lifetime access and save up to 15% — grouped for birth preparation, the third trimester, or the whole pre and postnatal journey.
Learn more
Bundle · lifetime access
MamasteFit Bundles
Combine courses and programs for lifetime access and save up to 15% — grouped for birth preparation, the third trimester, or the whole pre and postnatal journey.
Learn more
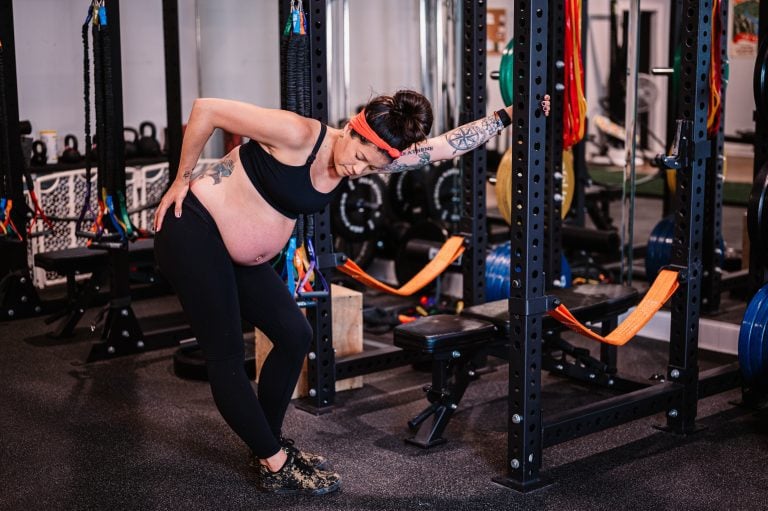 On-demand video · 128 workouts
Prenatal Workout On-Demand
Follow-along workouts from week 5 to week 41, four or five a week with guided warm-ups and cool-downs — over 128 sessions coached in real time alongside the video.
Learn more
On-demand video · 128 workouts
Prenatal Workout On-Demand
Follow-along workouts from week 5 to week 41, four or five a week with guided warm-ups and cool-downs — over 128 sessions coached in real time alongside the video.
Learn more
3. Staggered Stance Romanian Deadlift
The staggered stance Romanian deadlift, or RDL, builds on the pelvic rotation from the previous exercises while introducing a hamstring-focused hip hinge.
This movement also provides an opportunity to explore how the pelvis moves on the femur during a strength exercise.
How to Set Up
Hold a medium to heavy weight in your right hand.
Place your left foot forward and your right foot slightly behind.
Keep more of your weight in the left foot.
Maintain a stable, comfortable staggered stance.
Keep your left knee softly bent rather than locking it straight.
This contralateral hold—holding the weight opposite the forward leg—is used to help bias more internal rotation on the left side.

How to Perform
Inhale as you begin to lower into the hinge.
Shift your weight toward the left heel.
Drive your left hip crease backward.
Keep your left shin relatively vertical, with your knee stacked over your ankle.
Allow your torso to hinge forward while your hips move back.
Exhale as you push through your left foot to stand.
As you rise, shift more weight toward the left big toe and arch.
Repeat with controlled breathing.

Key Technique Cues
Think of a flashlight on your butt.
Imagine that the flashlight is shining toward the wall behind you rather than toward the floor. This helps you focus on sending your hips backward instead of squatting straight down.
Other important cues include:
Keep the knee over the ankle.
Maintain a slight bend in the knee.
Feel the left hip crease move backward.
Notice the stretch in the left glute and hamstrings.
Exhale to extend the hips and return to standing.


Pelvic Rotation vs. Hip Rotation
This exercise is a useful place to understand the difference between pelvic rotation and hip rotation.
In this standing, closed-chain movement, your foot is connected to the ground. Your femur acts as an anchor, and your pelvis rotates on top of it.
At the bottom of the hinge, you explore more internal pelvic rotation. As you stand and shift toward the toes, you move toward more external pelvic rotation.
This is different from an open-chain movement, such as a fire hydrant, where the femur moves on the pelvis.

Switch Sides
Place your right foot forward and your left foot slightly behind. Hold the weight in your left hand.
Repeat the same staggered stance RDL:
Shift into the right heel as you lower.
Keep your right shin relatively vertical.
Drive your right hip crease back.
Exhale to stand.
Shift toward the right big toe and arch as you rise.
The goal is to feel the pelvis moving on the femur while maintaining control of the hinge.

4. Standing Hip Shift + Banded Abduction + Archer Press
The standing archer press is another full-body movement that combines weight shifting with upper-body strength.
Instead of rowing the band backward, you’ll press it forward as you shift your weight through your foot and rotate your torso.
How to Set Up
Place a mini band around your thighs.
Start with your right foot forward and your left foot behind.
Stand with your back toward the band attachment point.
Hold the band in your right hand.
Begin by practicing the weight shift without the band.
Practice the Hip Shift First
Before adding the press, move through the lower-body pattern:
Shift your weight into your right heel.
Allow your left knee to move outward slightly.
Shift forward into your right big toe and arch.
Notice how your pelvis moves into a more open hip position.
Repeat several times.
The mini band is not the primary focus of this exercise. The important part is the movement of your pelvis and the way you shift your weight through your foot.

Add the Archer Press
Inhale as you shift back into your right heel.
Exhale as you press the band forward with your right hand.
Shift your weight toward your right big toe and arch.
As you press, gently rotate your rib cage.
Think about creating a little length through your right side body.
Inhale as you release the band and shift back.
Repeat with smooth, controlled movement.

What You’ll Feel
As you press, you may notice:
More weight through the big toe and arch.
A more open position through the hip.
Rotation through the rib cage.
Movement of the pelvis as you shift forward.
A coordinated effort between the lower and upper body.
The movement is intended to integrate the end of your gait cycle, when you’re pushing off the floor to take another step or begin running.
Complete the Other Side
Switch so your left foot is forward and your right foot is behind.
Shift into your left heel as you come back. Then shift forward into the left big toe and arch as you press the band.
As you press, allow your rib cage to rotate and your torso to move naturally with the pelvis.
5. Standing Single-Leg Squat With Banded Abduction
This exercise combines a small single-leg squat with pelvic rotation or hip rotation, depending on the variation.
You’ll use a mini band around your thighs and a light to medium weight. A wall or foam roller can provide balance support.
There are two variations in this section:
A single-leg squat with pelvic rotation.
A single-leg squat with the lifted leg moving into abduction and external rotation.
Understanding the difference between these two movements is an important part of this workout.
Variation 1: Single-Leg Squat With Pelvic Rotation
How to Perform
Place the mini band around your thighs.
Stand on your right leg and hold the weight in your right hand.
Use a wall or foam roller for balance if needed.
Lower into a small, quarter-range single-leg squat.
Inhale as you lower.
Exhale as you stand back up.
As you rise, push through your right big toe and arch.
Allow your torso and pelvis to open toward the left.
Return to the starting position and repeat.


What to Focus On
The main focus is the opening position of the right pelvis and hip.
As you come up from the squat, think about pushing your torso to the left. This allows the right hip and pelvis to rotate into a more open position.
The left leg may move slightly outward, but the primary focus is the rotation happening through the right hip and pelvis.
You may notice:
Weight shifting from the heel to the big toe and arch.
Rotation through the pelvis.
A small amount of movement through the torso.
Control of the standing leg.
Switch Sides
Stand on your left leg and repeat the same pattern.
Lower into a mini squat, then rise and open your torso toward the right. Push through your left big toe and arch to help find the open position.

Variation 2: Single-Leg Squat With Hip Abduction and External Rotation
The second variation is different because the pelvis stays relatively square while the lifted leg moves outward.
How to Perform
Stand on your right leg.
Hold the weight if desired, or place it down for balance.
Lower into a small single-leg squat.
Keep your hips square.
As you rise, move your left leg out to the side.
Bring the left leg back in.
Lower into the squat again.
Repeat with control.


What Changes in This Variation?
Unlike the first variation, your torso and pelvis are not opening with the lifted leg.
Instead, the movement emphasizes:
Hip abduction, or moving the leg away from the midline.
Hip external rotation.
Control of the standing leg.
Maintaining a relatively square pelvis.
The first variation focused more on pelvic rotation. This variation focuses more on the movement of the lifted leg in relation to the pelvis.
Switch Sides
Stand on your left leg and repeat the same movement:
Lower into a mini squat.
Keep the hips square.
Lift the right leg outward.
Bring the right leg back in.
Lower again.
Why Both Variations Matter
These exercises allow you to explore two different ways of creating movement:
Pelvic rotation: The pelvis rotates on the femur of the standing leg.
Hip rotation: The femur moves in relation to the pelvis, as in the lifted-leg abduction variation.
Both are valuable movements to develop awareness and control around the hips and pelvis.
6. Weighted Hip Airplane With Foam Roller
The weighted hip airplane is the final exercise in this advanced pelvic mobility flow.
Hip airplanes are useful for exploring pelvic mobility, hip rotation, and balance while standing on one leg. Adding a foam roller provides support, allowing you to focus more on the movement rather than worrying about losing your balance.
How to Set Up
Place a foam roller on the inside of your right knee.
Hold a weight in your right hand.
Stand on your right leg.
Hinge forward into a single-leg position.
Use the foam roller for balance support.

How to Perform
Begin in the hinged position with your torso leaning forward.
Push through your right big toe and arch to open your hip.
Rotate into a more open hip position.
Shift your weight toward your right heel.
As you shift back, row the weight toward your body.
Rotate into a more closed hip position.
Continue alternating between the open and closed positions.
Maintain control through your standing foot and pelvis.


Understanding the Open and Closed Hip Positions
In the open hip position, you may notice:
More weight through the big toe and arch.
More external pelvic rotation.
The pelvis rotating into a more open position.
In the closed hip position, you may notice:
More weight through the heel.
The belly moving closer toward the thigh.
A smaller hip crease.
More internal pelvic rotation.
The goal is to explore the movement between these positions rather than forcing a large range of motion.
Switch Sides
Place the foam roller on the inside of your left knee and hold the weight in your left hand.
Repeat the same movement:
Push through the left big toe and arch to open.
Shift toward the heel to close.
Continue integrating the movement of your foot, pelvis, and hip.
Why Foot Pressure Matters for Pelvic Mobility
One of the most important themes throughout this workout is the relationship between your feet and your pelvis.
Your feet provide the foundation for how your body interacts with the ground. As you shift your weight through different parts of your foot, the position of your pelvis can change.
This is particularly noticeable during walking.
During Your Gait Cycle
As you walk, your foot moves through different stages of contact and push-off.
You may notice:
Weight initially moves through the foot during stance.
The heel and midfoot help support your body.
Weight gradually shifts forward.
The big toe and arch help you push off the floor.
Your pelvis and hips rotate as you move into the next step.
This relationship between the foot, pelvis, and hip is part of what makes walking and running coordinated movements.
Internal and External Pelvic Rotation
The workout emphasizes a general pattern:
More heel weight during the closed or backward position, associated with more internal pelvic rotation.
More big toe and arch weight during the open or forward position, associated with more external pelvic rotation.
The exact amount of movement will vary depending on your anatomy, stance, balance, and how you perform the exercise.
The goal isn’t to force your pelvis into a specific position. Instead, explore how the weight shift influences your movement.
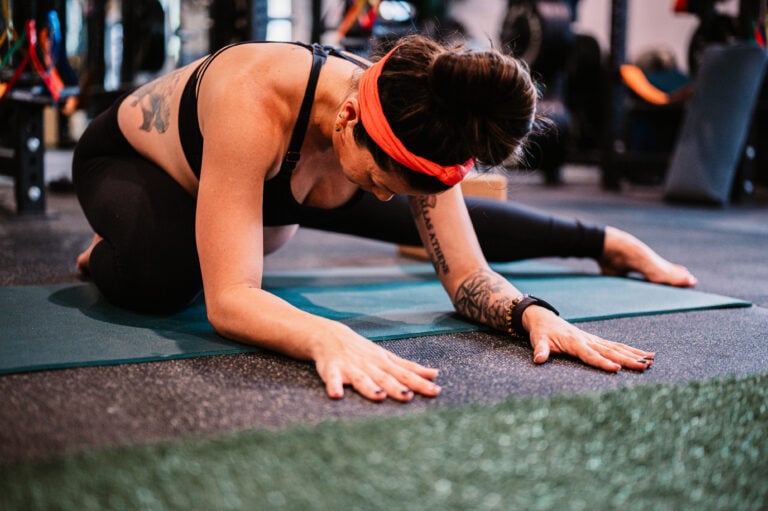 Video course · 7 modules
Prepare Your Pelvic Floor For Birth
Seven modules on releasing the pelvic floor rather than only strengthening it — breathing drills, thoracic and pelvic mobility, and how to relax it during labor.
Learn more
Video course · 7 modules
Prepare Your Pelvic Floor For Birth
Seven modules on releasing the pelvic floor rather than only strengthening it — breathing drills, thoracic and pelvic mobility, and how to relax it during labor.
Learn more
 App program · 64 days
Postpartum Return to Running
Sixty-four training days, four sessions a week, with plyometrics and running programming beginning at week seven — a structured way back to your first run.
Learn more
App program · 64 days
Postpartum Return to Running
Sixty-four training days, four sessions a week, with plyometrics and running programming beginning at week seven — a structured way back to your first run.
Learn more
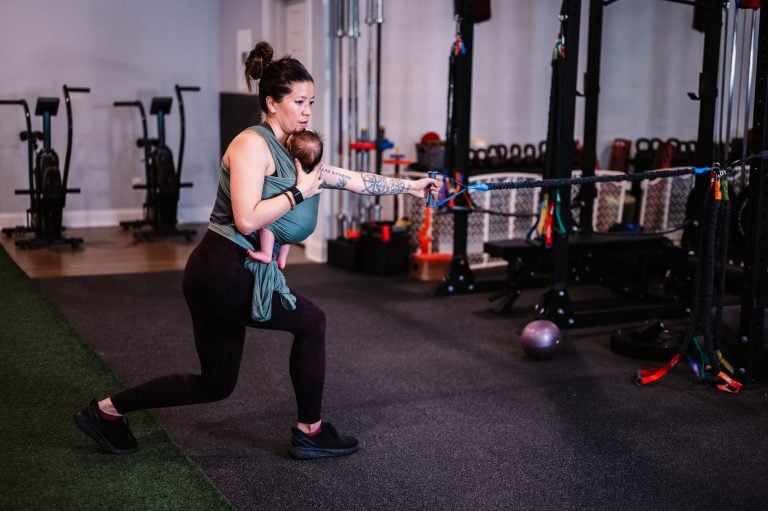 Membership · ongoing
Beyond Postpartum Strength Training
An ongoing subscription with a new training cycle every 6 to 10 weeks — strength endurance, max strength, then power, with deload weeks and running add-ons.
Learn more
Membership · ongoing
Beyond Postpartum Strength Training
An ongoing subscription with a new training cycle every 6 to 10 weeks — strength endurance, max strength, then power, with deload weeks and running add-ons.
Learn more
How Pelvic Mobility Can Support Your Training
Pelvic mobility can be useful for a variety of activities, including strength training, walking, running, and perinatal fitness.
During Pregnancy
Pregnancy changes how your body moves, and your center of mass shifts as your baby grows.
Exploring pelvic mobility can help you develop awareness of how your feet, hips, pelvis, and rib cage work together.
You may benefit from:
Using a smaller range of motion.
Choosing lighter weights.
Holding onto a wall for balance.
Adjusting your stance for comfort.
Moving at a slower pace.
Always adapt exercise to your current stage of pregnancy, symptoms, and guidance from your healthcare provider.
During the Postpartum Period
After birth, returning to movement is a gradual process. Pelvic mobility exercises can be one part of rebuilding coordination and strength.
The movements in this workout may be appropriate for some postpartum individuals, but the advanced single-leg exercises and heavier weights should be modified or postponed until you’re ready.
Focus on:
Comfortable movement.
Gradual strength progression.
Coordinating breathing with exercise.
Monitoring pelvic floor symptoms.
Building confidence with weight shifting.
If you experience pain, heaviness, pressure, leakage, or other pelvic floor symptoms, consider working with a pelvic health physical therapist or qualified healthcare professional.
For Running and Strength Training
The ability to shift weight through your feet and rotate your pelvis is relevant to athletic movement.
These exercises can help you practice:
Single-leg balance.
Hip hinge mechanics.
Pelvic rotation.
Upper- and lower-body coordination.
Weight transfer during movement.
They can be incorporated into a broader strength and mobility program when appropriate for your training level.
Common Mistakes to Avoid
1. Forcing the Pelvic Rotation
Pelvic rotation should feel controlled and natural. You don’t need to twist as far as possible.
Try this instead: Reduce your range of motion and focus on feeling the weight shift between your heel and big toe.
2. Locking the Knee During the Hinge
A locked knee can make it harder to perform a comfortable hip hinge.
Try this instead: Keep a soft bend in the knee and maintain a relatively vertical shin.
3. Ignoring the Feet
It’s easy to focus entirely on the pelvis and forget about the feet.
Try this instead: Notice where your weight is distributed. Can you feel the heel? Can you feel the big toe and arch?
4. Moving Too Quickly
These exercises involve several moving parts, especially when you add resistance.
Try this instead: Slow down and prioritize smooth transitions.
5. Losing Balance During Single-Leg Exercises
Balance is a major component of the single-leg squat and hip airplane.
Try this instead: Use a wall or foam roller for support. You can also reduce the weight or perform a smaller range of motion.
6. Focusing Only on the Pelvic Floor
The pelvic floor is part of a larger movement system.
Try this instead: Pay attention to the relationship between your feet, hips, pelvis, and rib cage. Explore how the whole body coordinates during movement.
Final Thoughts: Give Your Pelvic Floor More Than Just Strength
Pelvic mobility is about more than moving the pelvis by itself. It’s about how the pelvis works with your feet, hips, rib cage, and the rest of your body.
When you improve your ability to shift weight, rotate your pelvis, and coordinate movement, you create more opportunities to explore strength and mobility in a connected way.
This workout is a challenging progression that combines mobility and strength training to help you better understand your movement patterns.
Remember: Your pelvic floor is part of a larger system. While pelvic mobility may be useful for some individuals experiencing pelvic floor symptoms or discomfort, it isn’t a universal solution. A personalized approach may be needed to address pain, pressure, leakage, or other concerns.
If you’re looking for more pelvic floor workouts, the Pelvic Floor Foundations course includes workouts focused on downregulation, strengthening, balance, and pelvic mobility. These workouts are designed to help integrate the lower body and upper body for better pelvic floor function.
For additional perinatal and women’s strength programming, check out our online fitness programs and use code YOUTUBE10 to save 10%.
Check Out Our Previous Pelvic Floor Week Workout Videos!
On-demand video · 30 workouts
Core, Pelvic Floor & Pelvic Stability
Thirty follow-along workouts across beginner, novice, and advanced levels, ten per level — core and pelvic floor strength for pain relief in pregnancy or postpartum.
Learn more
Bundle · lifetime access
MamasteFit Bundles
Combine courses and programs for lifetime access and save up to 15% — grouped for birth preparation, the third trimester, or the whole pre and postnatal journey.
Learn more
On-demand video · 128 workouts
Prenatal Workout On-Demand
Follow-along workouts from week 5 to week 41, four or five a week with guided warm-ups and cool-downs — over 128 sessions coached in real time alongside the video.
Learn more